
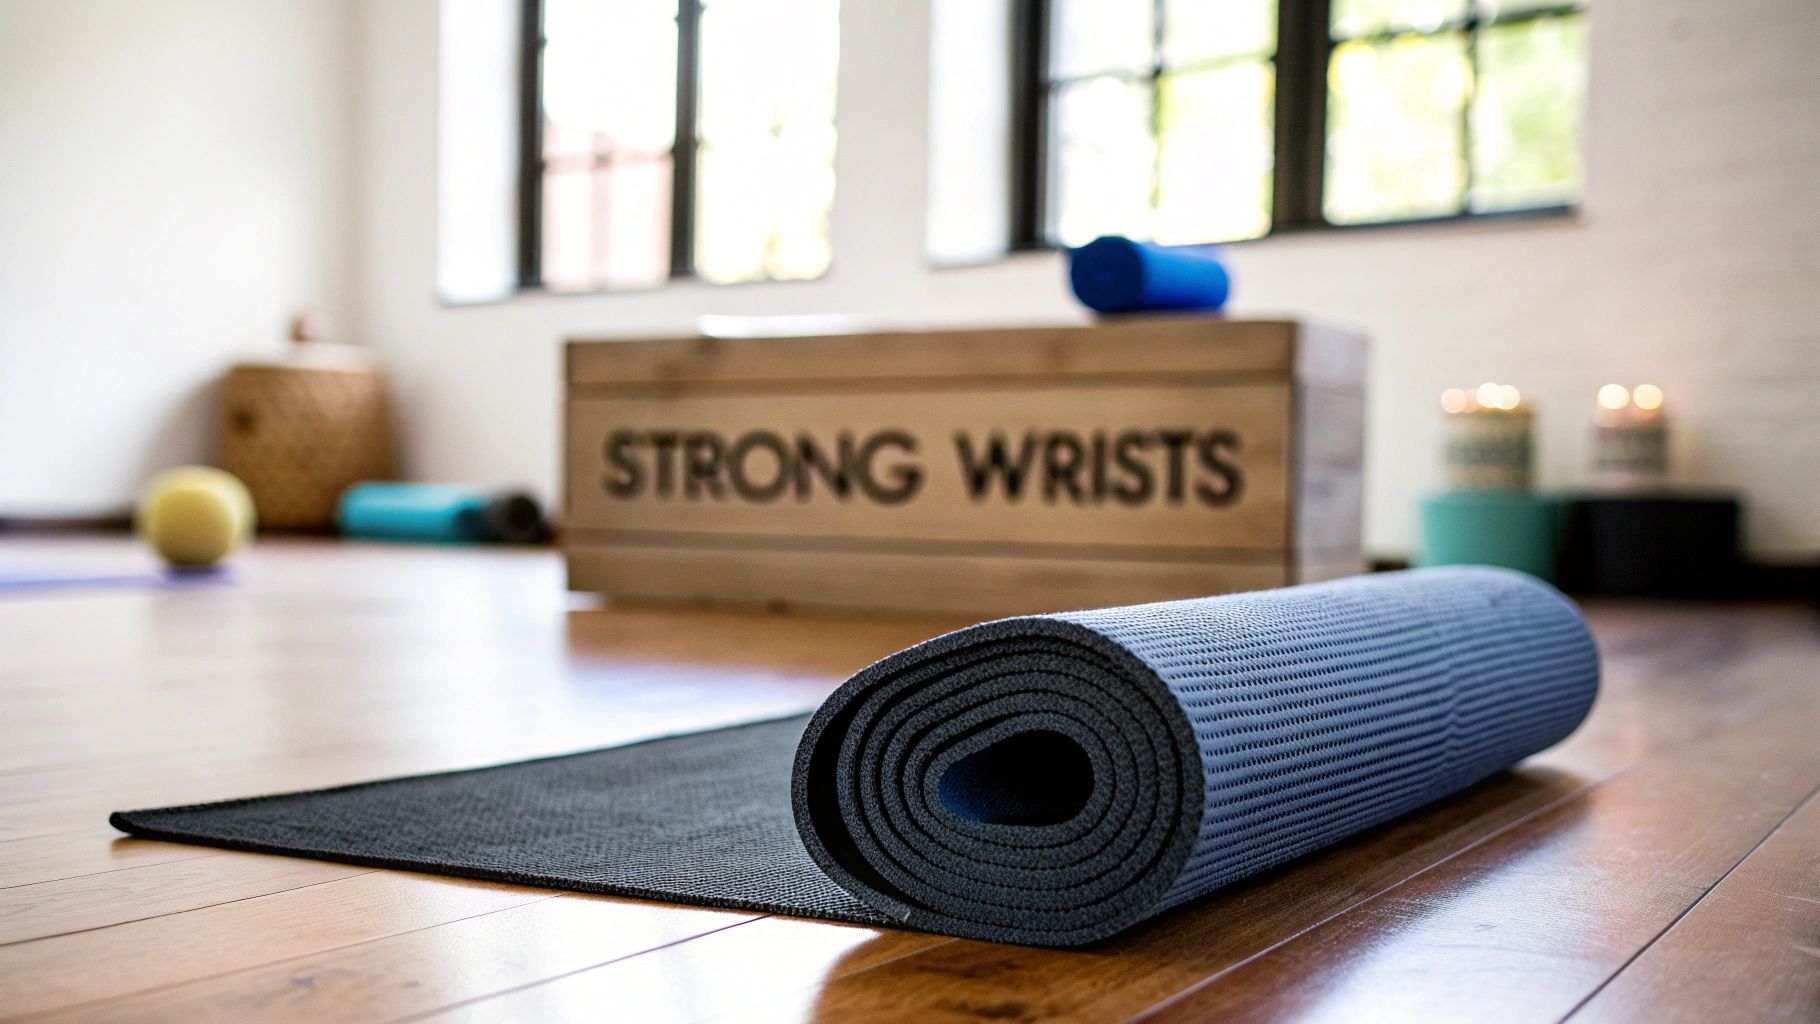
How to Strengthen Wrists for Yoga for Pain-Free Poses
Let's face it: nothing kills the vibe of a great yoga session faster than wrists that are screaming for mercy.
If you’ve ever felt that sharp, unwelcome twinge in Plank or a dull ache creeping in during Downward Dog, you are definitely not alone. It's a super common frustration that can make you feel like your practice is hitting a wall before it even really gets going.
This kind of discomfort often leads people to think they just have "weak wrists," but the truth is a lot more interesting than that. Our wrists simply weren't designed to bear our full body weight the way our ankles and feet were. They're incredibly complex, and getting to know their design is the first step toward making them strong and happy.
The problem usually isn't that your wrists are inherently weak. It's that modern life, with all its typing and texting, has trained them for tiny, repetitive movements—not for holding you up in a handstand.
We’ve essentially conditioned them for a desk job, not a Vinyasa flow. So, when you suddenly ask them to support your body weight at a sharp 90-degree angle, it’s no wonder they protest.
Your wrist is a little marvel of engineering, a delicate meeting point of bones, ligaments, and tendons. The whole hand-wrist-forearm system is seriously sophisticated. Believe it or not, each wrist is made up of 29 different joints and a complex web of tendons.
This intricate setup gives us an amazing range of motion, but it also creates potential weak spots, especially if the supporting muscles in the forearm aren't up to the task. When you plant your hands on the mat, you're asking this complex system to do a job it hasn't been trained for.
The issue isn't that your wrists are weak; it's that we haven't prepared them for the unique demands of yoga.
This is where we flip the script. By building strength in the right places, we can turn this delicate structure into a powerhouse.
One of the most important things you can learn is how to tell the difference between the "good burn" of building muscle and a "stop right now" warning sign from your joints.
Pushing through sharp pain is a one-way ticket to injury. The goal here is to build up the muscular support around the joint so the joint itself doesn't have to take the full hit. This involves more than just forearm curls; it’s about improving your overall postural awareness to distribute your weight correctly, all the way from your fingertips to your shoulders.
By focusing on smart alignment and gradual strengthening, you can transform your wrists from a liability into one of your greatest assets on the mat.
Here’s a little cheat sheet to keep the core ideas in mind. Think of it as your quick-reference guide to building happy, resilient wrists that can handle whatever your yoga practice throws at them.
By keeping these principles front and center, you’re not just avoiding pain—you’re actively building a stronger, more sustainable yoga practice from the ground up.
Let's be real: jumping straight into a Vinyasa class with cold wrists is like trying to sprint without a single stretch. You’re just asking for trouble. This quick, five-minute routine needs to become your absolute non-negotiable ritual before you even think about hitting the mat. Think of it as your insurance policy against aches and pains.
Forget those lazy, mindless wrist circles you might be used to. We’re going to actively and intentionally prepare your joints for the work ahead. These dynamic drills get synovial fluid moving, fire up your forearm muscles, and forge a stronger connection between your brain and your hands.
This simple progression from mobility to strength to alignment is the key.

As you can see, building strong, happy wrists is a process. It all starts by creating a little more space and freedom in the joint itself.
Controlled Articular Rotations, or CARs, are a total game-changer for joint health. This isn't your average wrist circle. With a CAR, you are deliberately taking your wrist through its absolute maximum range of motion.
Here's how you do it: Extend one arm straight out and make a gentle fist. Now, pretend your forearm is stuck in wet concrete—it can’t move an inch. Slowly, and with as much tension as you can muster, draw the biggest, cleanest circle possible with that fist, isolating the movement entirely to the wrist. Aim for 3-5 slow, controlled circles in each direction.
You might hear a few clicks and pops along the way. As long as there's no pain, that’s perfectly normal! It's just the joint waking up and getting lubricated. This kind of active prep is a cornerstone of many effective yoga warm-up exercises, and for good reason.
With the joint prepped, it's time to wake up the muscles that provide all the support: your forearm extensors and flexors.
Prayer and Reverse Prayer: Start by bringing your palms together at your heart (Anjali Mudra). Gently press your palms into each other as you lower your hands toward your waist, stopping when you feel a solid stretch. Hold that for about 15-20 seconds. Next, flip your hands so the backs are touching and your fingers are pointing down. Gently press again and hold.
Tendon Glides: This one feels amazing. Hold your arm out with your palm facing the sky. First, touch your fingertips to the pads at the top of your palm. Then, slide them down to the base of your fingers. From there, make a flat, "duck beak" hand, and finally, clench into a full fist. This little sequence gets your tendons gliding smoothly, getting them ready to grip the mat.
This is more than just stretching. It's about actively preparing the tissues for the load they’re about to take on. Consider it the dress rehearsal for your first Downward Dog.
By investing just a few minutes in these targeted moves, you're doing so much more than just warming up. You're building a smarter, stronger foundation from the ground up, turning your wrists into a stable base for your entire practice. It's a tiny time commitment that pays off big time in strength and injury prevention.
While a smart warm-up is your daily insurance policy against tweaks and strains, building truly resilient wrists happens when you step away from your yoga mat. This is the behind-the-scenes work, the dedicated training that forges the kind of deep strength needed to make poses like Chaturanga and Crow feel solid and almost effortless.
And you don't need a fancy gym membership or a rack of complicated gear to do it.
Think of it this way: your on-the-mat practice is the performance. This off-the-mat training is the rehearsal, where you build the raw muscle and quiet confidence to shine. We're going to target the specific muscles in your forearms that act as the primary support system for your delicate wrist joints.

Let's get a little anatomical for a second. Your forearms have two main muscle groups that run the show for your wrists: the flexors on the palm side (the ones that let you make a fist) and the extensors on the top (the ones that let you wave hello). Strengthening both is non-negotiable for creating balanced support. Ignoring one side is a fast track to imbalance and, eventually, injury.
Here are two classic, no-fuss exercises that hit these groups directly. Grab a light dumbbell (1-3 lbs), a soup can, or even a resistance band.
The secret sauce here is slow, controlled movement. This isn't about heaving heavy weights around. It’s about meticulously isolating these small but mighty muscles and building their endurance.
Curls are great for building that raw muscle, but bodyweight exercises are what teach your wrists how to handle you. This is the stuff that translates directly to your mat because it trains your wrists to support your own weight in all sorts of different positions—exactly what yoga demands.
Of course, a huge part of this functional work happens right in your practice. Asanas like Downward-Facing Dog, Plank, and Side Plank are fantastic strengtheners because they engage the wrists under varying loads and at different angles. This is where you can see the direct payoff. Even starting a session with simple wrist rolls (7-10 repetitions outward and inward) primes the joints for this work. You can find more insights on these yoga-specific strengtheners to layer into your practice.
But for now, let's drill down on some specific bodyweight exercises you can do anywhere.
Don't panic! You don't have to be a push-up master to get the benefits. These variations are amazing for building stability and can all be done on your knees. The focus is on the hands, not how many reps you can do.
These drills are brilliant because they teach your hands, wrists, and forearms to fire together as one solid, stable unit.
Pro Tip: When you're first learning how to strengthen wrists for yoga, forget about the numbers. Focus on quality over quantity. Five perfect, controlled reps are infinitely better for you than 20 sloppy, rushed ones. The goal is to build strength, not just to get through the set.
Consistency is what will ultimately change your practice. Weaving these simple exercises into your routine just 2-3 times per week will make a world of difference. Soon, you’ll start to notice more stability in your planks, less nagging strain in your vinyasas, and a whole new level of confidence when you approach those fun, challenging arm balances. This is the foundational work that paves the way for a strong, sustainable, and pain-free yoga journey.
Okay, you've done the off-the-mat work. You've built awareness and strength. Now for the fun part: bringing it all back to your yoga practice. This is where we stop just gritting our teeth through poses and start moving with a whole new level of intelligence.
Let’s zero in on the usual suspects—those poses that make wrists scream, like Downward-Facing Dog, Plank, and the dreaded Chaturanga. I’ll show you a few alignment secrets that can be total game-changers. It’s not about enduring the pressure; it’s about distributing it wisely.

Honestly, the single biggest difference you can make starts and ends with your hands. Just plopping them down and dumping all your weight into the heels of your palms is a surefire recipe for angry wrists. Instead, you need to get active and "grip" the mat. Think of your hand not as a flat platform but as an engaged, dynamic base.
Picture your hand as a little suction cup. Spread your fingers out wide—really wide!—and press down through all four corners of your palm and every single fingertip. Give some extra love to the base of your index finger and thumb; that spot tends to get lazy. When you press down there, you’ll feel a subtle lift in the very center of your palm, which takes a ton of pressure off that sensitive carpal tunnel area.
This active engagement is called Hasta Bandha (the hand lock), and it's a non-negotiable for two big reasons:
Think of your fingers like the roots of a tree. The more you spread them and root them down, the stronger your entire structure becomes. This one shift is absolutely fundamental to building happy, healthy wrists in yoga.
With your hands now awake and engaged, let's tinker with the poses that give your wrists the most grief. You'd be amazed at how tiny adjustments can bring massive relief.
The classic mistake here is collapsing into the wrists and letting your shoulders creep up to your ears. Instead, think about creating space. Try to gently rotate the inner creases of your elbows to face a little more toward the front of your mat. Feel how that broadens your collarbones? It engages your upper back and helps you lift your weight up and out of your wrist joints, rather than sinking into them.
These two are tough because they put your wrists at that sharp 90-degree angle, which is often where the trouble starts. The secret is to keep your energy moving forward. In Plank, actively push the floor away from you, imagining a powerful line of energy shooting from your heels all the way through the crown of your head.
For Chaturanga, the golden rule is to hug your elbows into your ribs as you lower down, keeping them pointed straight back. The moment they flare out to the sides, your shoulders dump forward, and all that strain goes directly into the delicate outer edges of your wrists. No thank you.
Props aren't a sign of weakness; they're a sign of intelligence. Using them allows you to build strength safely, especially when your wrists are feeling a bit tender or you're still building endurance.
Having the right gear from the get-go can make a huge difference in your practice. If you're curious about what else might be helpful, check out our guide on yoga equipment for beginners.
At the end of the day, protecting your wrists isn't really about your wrists—it's about your entire body. When your core checks out or your shoulders are snoozing, your poor wrists are left to pick up the slack. They weren't designed for that job!
So, every single time your hands meet the mat, do a quick mental scan. Is my core fired up? Am I pushing the ground away to activate the muscles around my ribs (hello, serratus anterior)? Are my legs strong and participating?
When you distribute the effort across your whole body, a pose that once felt like wrist-torture transforms into a full-body expression of strength. That holistic, integrated approach is the key to a sustainable, joyful practice that will support you for years.
Good intentions are nice, but they don’t build strength. Consistent habits do. The real trick is weaving these exercises into your life so they don't feel like another chore.
So, let's get down to it. Here’s a simple, plug-and-play schedule to make it happen.
Think of this as your roadmap to stronger wrists, whether you're just starting to feel that twinge in Downward Dog or you're aiming for a rock-solid handstand. It's all about finding a sustainable rhythm that works for you.
The secret to getting stronger isn't one epic, heroic workout. It's the small, smart things you do over and over again. Fitness experts and a ton of research agree: wrist and grip exercises deliver the best results when you practice them regularly, ideally 2–3 times a week.
Each session can be short and sweet—just 2–3 sets of 10–15 repetitions. That's the sweet spot for building real strength without straying into overuse territory. You'll be amazed at how fast you feel a difference in both your stability and your range of motion. For a deeper dive, check out this great piece on strengthening wrists from YogaJournal.com that reinforces this approach.
This isn't about adding another hour to your gym time. It's about finding 10-15 minutes, a few times a week, to invest in a future of pain-free yoga.
With that in mind, here’s a flexible plan you can tweak to fit your life and your current level.
Okay, let's be clear: this is not a rigid, must-follow-or-you-fail plan. Treat it like a template. Feel free to shuffle the days around to fit your life, but try to keep that healthy balance between work, mobility, and rest. The whole idea is to pair your strength days with your regular yoga practice, making sure you bake in enough recovery time. This is how you avoid burnout and let your muscles actually rebuild and get stronger.
Ultimately, listen to your body. If your wrists feel tired, swap a strength day for a mobility day. The goal is progress, not perfection.
So, how can you tell if all this effort is paying off? Simple: you track it. You don’t need a fancy app or a complicated spreadsheet. A quick note in your phone or a physical journal works perfectly.
Jot down the small wins:
This simple feedback loop is gold. It’s incredibly motivating. As you watch the numbers climb and feel the difference on the mat, you’ll have concrete proof that what you're doing is working. And for a little extra insight, tools like Dalm can give you AI-powered feedback on your alignment, showing you exactly how your newfound wrist strength is cleaning up your entire practice.
As you start getting serious about building stronger wrists for your yoga practice, a bunch of questions are bound to pop up. It’s totally normal to wonder if that little twinge is a big deal or if that fancy gear is actually worth the investment. Let’s dive into some of the most common worries I hear from students and get you some clear, no-nonsense answers.
Think of this as your go-to troubleshooting guide. These are the real-world snags that can stall your progress, and knowing how to handle them will give you the confidence to keep your practice moving forward—safely and smartly.
Ah, the classic Chaturanga pinch. The good news is, this is almost always an alignment thing, not a sign that your wrists are doomed. That sharp sensation on the outer edge of your wrist is usually a signal that your weight is dumping outwards and your shoulders are phoning it in.
The fix? It's a two-pronged attack. First, wake up your hands. I want you to actively press down through the base of your index finger and thumb, making a solid "L" shape on the mat. This one small shift immediately helps spread the load across your entire hand instead of just the delicate outer edge.
Next, it’s all about the upper body. Instead of just hanging out in your joints, I want you to feel like you're actively pushing the floor away. This fires up the big, powerful muscles around your shoulder blades, which creates a lift that takes a huge amount of pressure off your wrists. And of course, make sure those elbows are hugging your ribs and pointing straight back, not winging out to the sides.
You absolutely can, but you have to be smart and willing to modify. The first, non-negotiable step is to chat with your doctor or a physical therapist to get advice that’s specific to you. Never, ever push through sharp, shooting, or nerve-like pain.
When you get on your mat, your fists and forearms are going to become your new best friends. You can rock a Plank on your forearms and swap out Downward-Facing Dog for Dolphin Pose—you’ll still get that amazing hamstring stretch without putting any direct weight on your hands. The name of the game is avoiding that direct, sharp angle on your wrists.
Props aren't a "nice-to-have" in this scenario; they are essential for keeping you safe. Yoga wedges are a game-changer for reducing the angle of wrist extension, and even just rolling up the front of your mat under the heels of your hands can provide incredible relief in poses like Cat-Cow.
Focus on all those off-the-mat strengthening exercises we've talked about. You want to build up the supporting muscles before you gradually start to reintroduce more weight-bearing on your hands.
Listen, when it comes to building resilient joints, consistency beats intensity every single time. If you can commit to doing your mobility drills most days and your dedicated strength work 2-3 times per week, you’ll almost certainly feel a real difference in stability and comfort within 4 to 6 weeks.
This is a marathon, not a sprint, so patience is everything. Don't rush it or get bummed out if you don't feel ready for a handstand in two weeks. The goal isn’t a quick fix; it’s about building durable, long-term strength that will support your yoga practice for years to come.
Remember to celebrate the small wins! Holding a Plank for five seconds longer without pain or noticing you aren’t as tired in a Vinyasa class are massive signs that your hard work is paying off. That's how you know you're on the right track.
They can be a decent temporary tool, but you have to be careful they don't become a permanent crutch. Wrist wraps offer external support, which can be great if you’re nursing a minor strain or just need a little extra stability while you build up your own strength. They can definitely help you practice with better form and less ouch.
The catch? Relying on them 100% of the time can actually stop you from developing your own natural muscle stability. I like to call them "training wheels for your wrists." Use them strategically to learn what good alignment feels like and to manage discomfort, but make sure you’re always pairing them with the actual strengthening work.
Your ultimate goal should be for your wrists to be strong and stable all on their own, no gear required.
Ready to see just how strong your practice can get? Dalm uses AI to give you real-time feedback and pose analysis, helping you lock in your alignment and track your progress. Get personalized guidance to take your practice to the next level by checking out Dalm.


