
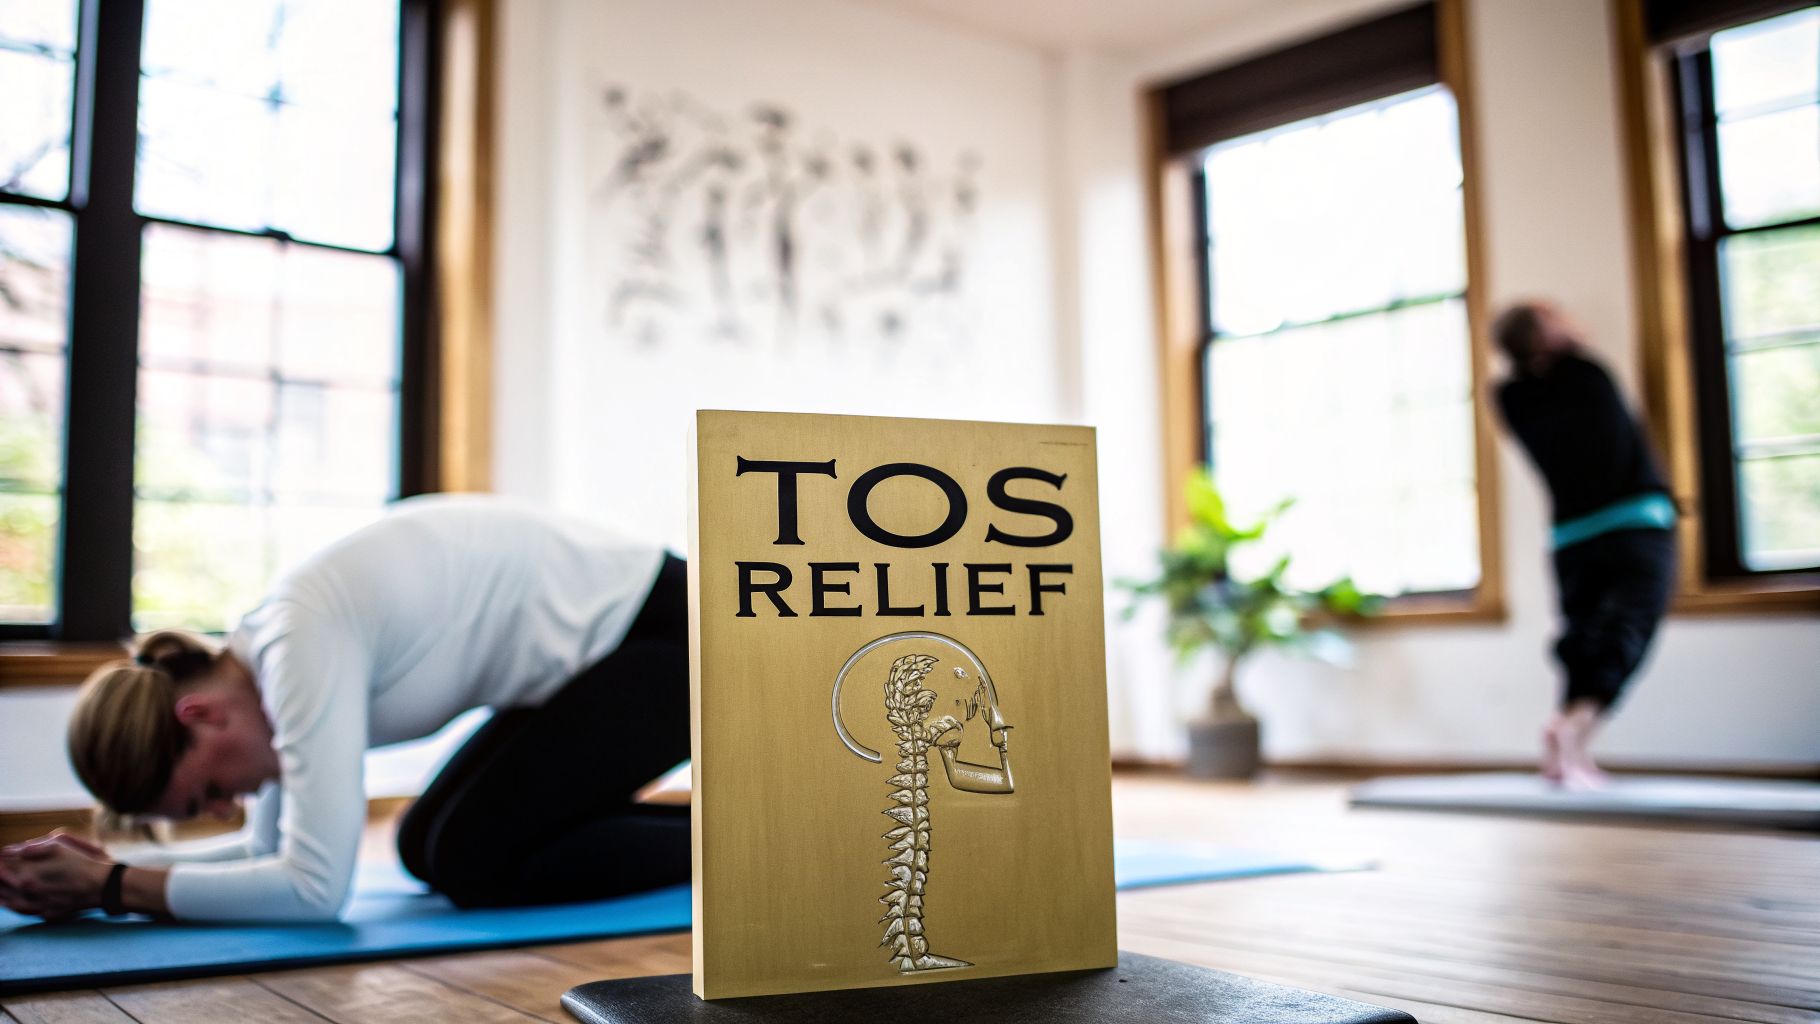
Discover how yoga for thoracic outlet syndrome can ease pain and tingling. Our guide offers safe, expert-backed poses and routines for effective relief.
If that frustrating tingling, numbness, or deep ache from Thoracic Outlet Syndrome (TOS) has you at your wit's end, you're in the right place. The right kind of yoga—one focused on smart, intentional movement—can be a game-changer. This isn't about contorting yourself into a pretzel; it's about systematically unwinding the very postural habits that get you into this mess.

Living with TOS can feel maddening. That buzzing in your hand, the ache that radiates from your neck, or a grip that suddenly feels untrustworthy—it's all coming from a tiny, crowded anatomical neighborhood at the base of your neck.
Think of it as a physiological traffic jam. A bundle of critical nerves and blood vessels is getting squeezed between your collarbone, first rib, and the surrounding muscles. The entire goal of yoga for thoracic outlet syndrome is to gently and safely clear that jam.
Unlike aggressive stretching that can sometimes make things worse, a mindful yoga practice is all about creating space, not force. It’s an act of decompressing and re-educating your body's patterns. This is precisely why it’s so effective for neurogenic TOS, which is the culprit for most people.
And if you're feeling isolated by this, know that you aren't. TOS affects about 1% of the population, showing up most often in women between the ages of 20 and 50, especially those of us chained to a desk all day. In fact, projections show that neurogenic TOS will account for around 80.1% of all cases by 2026. The good news? Studies have shown that a consistent, targeted yoga practice can significantly reduce these symptoms by getting right to the source of the nerve compression.
The secret sauce is re-patterning your posture from the inside out. We use the breath to coax tight chest muscles to finally let go, retrain the shoulder blades to glide smoothly on the back, and correct the "tech neck" that's constantly pulling you forward and down.
To get the most out of this practice, you need to start with the right mindset. This isn't a workout; it's a conversation with your body.
Here’s a summary of the core principles for using yoga to manage Thoracic Outlet Syndrome safely and effectively.
This methodical approach is the heart of what's known as therapeutic yoga, a practice designed for healing and functional improvement.
By embracing these simple ideas, your yoga mat transforms from a simple piece of rubber into your personal laboratory for healing. You’re not just doing poses—you’re taking back control, one gentle breath at a time.

So you've got this nagging, weird pain and tingling running from your neck down your arm. What in the world is happening? Think of the space between your collarbone, your first rib, and your neck muscles as a super crowded tunnel—this is your thoracic outlet. Through this tiny corridor, a critical bundle of nerves and blood vessels has to travel to get to your arm and hand.
Thoracic Outlet Syndrome, or TOS, is what happens when that tunnel gets too crowded. Something is pinching or compressing that bundle. It’s a chronic traffic jam, and that squeeze is the culprit behind all that maddening numbness, weakness, or deep, achy pain you’re feeling.
Now, not all traffic jams are caused by the same thing, and the same goes for TOS. We break it down based on what's getting squished. Getting a handle on the different types is the first step in understanding why a smart, targeted yoga for thoracic outlet syndrome routine can be such a game-changer.
There are three main culprits:
The good news? A whopping 95% of cases are the neurogenic type. This is fantastic, because nTOS is almost always a functional issue—a problem of tight muscles and poor posture, not a faulty part. It’s the kind of problem that responds beautifully to mindful movement and postural work.
With better diagnostics, the market for TOS treatment in North America hit USD 66 million in 2023. We're getting better at identifying this, with data suggesting 2-3 new cases of nTOS per 100,000 people annually. Interestingly, it affects women between the ages of 20 and 50 about 3-4 times more often. You can dive deeper into these market trends if you're curious.
With neurogenic TOS, the issue usually isn't some deep, unfixable structural problem. It's an issue of habit. It’s the "tech neck" from slouching over a screen, the head-forward jut from staring at our phones, and the everyday stress we unknowingly store in our shoulders.
Because nTOS is so common, its symptoms are what most people know as TOS. At first, they can feel so vague and confusing that it’s easy to just write them off as "sleeping funny" or a simple "stiff neck." Sound familiar?
Common Clues of Neurogenic TOS:
These symptoms love to flare up when you have your arms overhead—think blow-drying your hair or grabbing a plate from a high cabinet. Long stretches of driving or typing are also common triggers. That's why building better body awareness throughout your day is just as important as your yoga routine. We highly recommend weaving in these simple postural awareness exercises to support your progress.
But here’s a crucial point: while yoga is an incredible tool, you have to know when to hit pause and call a professional. If you notice any "red flag" symptoms—which point toward the venous or arterial types—it's time to see your doctor right away. Be on the lookout for sudden, unexplained swelling, a weird bluish or pale white color in your arm or hand, a new lump you can feel near your collarbone, or a weak or missing pulse in your wrist.
Okay, let's roll out the mat and get to the heart of the matter—the actual movements that can start to bring you some much-needed relief. Practicing yoga for thoracic outlet syndrome isn't about chasing those pretzel-like poses you see on Instagram. It’s about smart, gentle, and intentional movement designed to create more space in that crowded neighborhood around your neck and shoulders.
The poses we’ve chosen are about to become your new best friends. They’re all designed to do three things: gently coax tight chest and neck muscles (like your scalenes and pecs) to relax, help your shoulder blades glide more smoothly, and encourage a more open, naturally upright posture. Think of this less as a workout and more as a friendly conversation with your body.
We’ll start on all fours, a fantastic position that takes the weight off your shoulders and lets your spine move the way it was meant to. This classic yoga flow is a wonderful way to wake up the spine and gently mobilize the entire shoulder girdle without adding any compression.
Find your way to a tabletop position on your hands and knees. Your wrists should line up right under your shoulders and your knees under your hips.
Go back and forth between these two movements for about 8-10 breaths. The absolute key here is to keep the motion fluid and completely pain-free. If a full range of motion causes any zings or zaps, just make the movements smaller. Gentle motion is the goal, not a deep stretch.
This simple flow is the perfect warm-up. It gets the blood flowing and reduces stiffness, setting the stage perfectly for the more targeted work to come.
This move is a true powerhouse for re-educating your shoulder blades (scapulae) and firing up the muscles that support good posture. So many of us with TOS have overactive chest muscles and upper back muscles that have basically gone on vacation. Wall Angels are here to restore that balance.
Stand with your back flat against a wall, your feet about six inches out. Try to keep three points of contact: your tailbone, your mid-back (right between the shoulder blades), and the back of your head. Don't worry about a slight natural curve in your low back; that's perfectly normal.
Put a soft bend in your knees. Raise your arms out to the side to shoulder height and bend your elbows to 90 degrees, making a "goalpost" shape. Your palms should face forward.
The movement itself is simple: slowly slide your arms up the wall, trying to straighten them overhead without letting your back pop off the wall or your shoulders creep up to your ears. Then, just as slowly, slide them back down. Only go as high as you can while keeping your arms and wrists touching the wall and your form solid.
Trust me, a small, controlled range of motion is far more effective than forcing your arms higher by flaring your ribs. This move directly wakes up the serratus anterior and lower trapezius—two muscles that are absolutely crucial for healthy shoulder function.
This pose delivers a gentle, passive stretch to the back of the shoulder and upper back, areas that are notorious for holding tension. The "supported" part is everything here, as it stops you from going too deep and accidentally creating the very compression we’re trying to fix.
Come back down to your tabletop position on all fours. Keep a yoga block or a couple of thick books within reach.
On an inhale, sweep your right arm up towards the ceiling, opening your chest to the right side. As you exhale, "thread" that right arm underneath your left, allowing the back of your right shoulder and the side of your head to come down to the floor.
Now for the game-changing modification: slide that block or book stack under your head for support. This little bit of lift ensures you get a beautiful stretch without any "crunching" in your neck. Just relax here for 5-8 deep breaths, feeling the stretch across your right shoulder blade. To come out, press firmly into your left hand, unwind, and then do the other side.
This simple, three-pose sequence is the foundation for a safe and effective yoga practice for TOS, as you can see below.

The flow is designed to first mobilize the spine (Cat-Cow), then move into re-educating your posture (Wall Angels), and finally finish with a gentle release (Thread the Needle) to safely decompress the thoracic outlet.
Knowing what not to do is just as important as knowing what to do. The golden rule is simple: avoid anything that brings on or worsens your symptoms. This means steering clear of movements that are compressive, involve heavy overhead loads, or yank the neck and shoulder into extreme positions.
While a targeted yoga practice is key, exploring other effective shoulder pain relief exercises can also provide a well-rounded approach to managing TOS.
To make things easier, here’s a quick-reference table to help you navigate your practice safely.
The poses on the "Don't" list aren't "bad" poses in general, but for someone with TOS, they're playing with fire. As you get more in tune with your body’s signals, you might discover modified versions that feel okay. But when you’re just starting a yoga for thoracic outlet syndrome program, it's far wiser to stick to the poses that create space and freedom.
If you’re looking to build on these fundamentals with that same mindful awareness, our guide on the best yoga poses for flexibility is a great next step. Above all, remember that your body is your best teacher. Listen to it.
Honestly, a dedicated 15 minutes almost every day will do more for you than a single marathon session on a Sunday. Why? Because you're consistently re-educating your nerves and muscles, gently reminding them how to find space and release tension. You’re building a new normal for your body.
To help you get there, I’ve mapped out two sample schedules. The first is a gentle on-ramp for beginners, and the second is for when you're feeling solid and ready to build on that foundation.
The whole point here is to create a safe, repeatable habit. We aren't pushing limits or chasing sensation. We're simply introducing mindful movement, listening to our body's signals, and coaxing open that crowded space in the thoracic outlet. Quality over quantity is the name of the game.
Try to commit to this 15-minute sequence 5-7 days a week. You might find it feels amazing first thing in the morning to shake off overnight stiffness. Or, it could be the perfect way to unwind and release postural gunk from your day. Find what works for you.
Your Daily 15-Minute Flow:
The golden rule, and I can't say this enough: listen to your body. If a pose triggers that familiar zing of numbness, tingling, or sharp pain, back off immediately. The goal is to walk away feeling better, not beaten up.
After you've spent a few weeks consistently practicing the beginner's routine and you're feeling more stable and aware, it might be time to progress. This intermediate plan introduces slightly longer holds and adds a dash of strength work to help you maintain the new space you’ve created.
We'll alternate between two different sequences here. This keeps your body guessing and ensures we're working on both mobility and stability. Aim to practice 4-6 days per week.
A Look at the Intermediate Week:
Mobility & Opening Flow (Days 1, 3, 5):
Stability & Strengthening Flow (Days 2, 4, 6):

Your yoga routine is a fantastic start, but let's be honest. Thoracic outlet syndrome doesn't conveniently clock in and out with your mat time. It’s that unwanted passenger that tags along to your desk, gets in the car with you, and even tries to tuck you into bed at night.
True, lasting relief isn't just about what you do for 20 minutes; it's about weaving those principles of space and alignment into your entire day. It’s about making good posture feel easier than bad posture.
For so many of us, our desk is the scene of the crime. Hunched over a screen for hours is the perfect recipe for TOS symptoms to flare up, creating that all-too-familiar forward head, rounded shoulders, and compressed chest.
This posture, "tech neck," puts a constant, nagging strain on the very structures your yoga practice is trying so desperately to free up. It's time to turn your workspace from an enemy into an ally.
Screen at Eye Level: Your monitor should be high enough that the top of the screen is level with your eyes. This one simple move encourages your head to float back into its natural alignment, taking a massive load off your neck. A stack of books works just as well as a fancy monitor stand.
Give Your Arms a Break: Let your elbows rest at a relaxed 90-degree angle, with your forearms parallel to the floor. If your armrests are too low (or non-existent), pop a cushion on your lap. When your arms hang unsupported, their weight constantly pulls your shoulders down and forward, contributing to that nerve-pinching slump.
Back Your Back: Scoot back and let your chair actually support you. A small rolled-up towel or cushion at your low back can work wonders, helping the rest of your spine stack up properly, all the way to the top of your neck.
These aren't just nit-picky ergonomic rules; they're your defense against the postural habits that feed into TOS. You’re not just working—you’re actively practicing alignment.
I always tell my clients: Your body becomes what you do most often. If you spend eight hours a day crumpled over a keyboard, you're training your body to hold that shape. Think of your ergonomic setup as passive yoga that works for you all day long.
You don’t need to unroll your mat to get a dose of relief. Sprinkling tiny movement breaks throughout the day, what I call "movement snacks," can stop stiffness from taking over.
Try a 30-Second Desk Reset Right Now:
These little movements add up. And if you're looking for more ways to manage daily tightness, there are plenty of other gentle exercises for neck pain relief you can weave into your day.
Here’s a game-changing secret weapon that most people completely ignore: your breath.
When we're stressed, in pain, or just concentrating, we tend to take short, shallow sips of air into the upper chest. This type of breathing overworks the very scalene muscles in your neck that are often the main culprits in TOS.
Learning to breathe deeply from your diaphragm gives those tense neck muscles a much-needed vacation. Lie on the floor with your knees bent and feet flat. Place one hand on your belly and the other on your chest. As you inhale through your nose, focus on making the hand on your belly rise. The hand on your chest should barely move. As you exhale slowly, feel your belly fall.
Just a few minutes of this diaphragmatic breathing each day can retrain your entire nervous system. It’s a simple shift that can release an incredible amount of hidden tension in your neck and shoulders, making it a true cornerstone of all-day relief.
Alright, so you're ready to explore yoga for thoracic outlet syndrome, but you've probably got some questions buzzing around. That's not just normal; it's smart. Let's clear the air and tackle some of the things I hear most often so you can start this journey with confidence.
First up, the big one: "How long until I start feeling better?" The honest-to-goodness answer is that it's different for everyone. Relief from TOS isn't a quick fix—it’s a marathon, not a sprint. Some people feel a subtle shift, maybe less intensity in their symptoms, within a few weeks of consistent, gentle practice. For others, it might be a couple of months before they notice a real, significant change.
The goal here isn't some miracle overnight cure. We're talking about gradually unwinding years of posture and movement habits. Your progress will hinge on how severe your symptoms are, how long you've been dealing with them, and what your day-to-day life looks like. Learning to celebrate the small victories—like making it through a workday with less of that familiar ache or finally sleeping through the night—is the real secret to staying motivated.
This is a critical point, and the answer couldn't be simpler: stop immediately. That familiar pain, numbness, or tingling is your body screaming "Red Flag!" Pushing through those sensations is the fastest way to irritate the already-compressed nerves and send you two steps back.
But don't just give up on the pose. Instead, think like a detective and modify.
Remember, our mantra for TOS yoga is "create space, don't compress." If any movement feels pinchy, zings, or makes your symptoms flare up, it's not the right move for you right now.
Let's be crystal clear on this: absolutely not. Think of this yoga practice as a star player on your healthcare team, but it is not the team captain. Getting a proper diagnosis from a qualified medical professional—like an orthopedic specialist or a PT who truly gets TOS—is non-negotiable.
They are the only ones who can rule out more serious underlying issues (like the less common venous or arterial TOS), give you a firm diagnosis, and map out a medical treatment plan. Your yoga practice is there to support and enhance what they recommend, not to take its place. In fact, keeping your doctor and PT in the loop about your yoga routine is the smartest way to build a safe, well-rounded recovery plan.
Ready to practice with confidence? Dalm offers AI-powered pose analysis and real-time voice feedback, ensuring you perform each movement safely and effectively. Get personalized guidance tailored to your body's needs and track your progress on the path to relief. Start your journey with smarter yoga at https://dalm.co.


