
Joint Stability Exercises: Build a Strong, Pain-Free Body
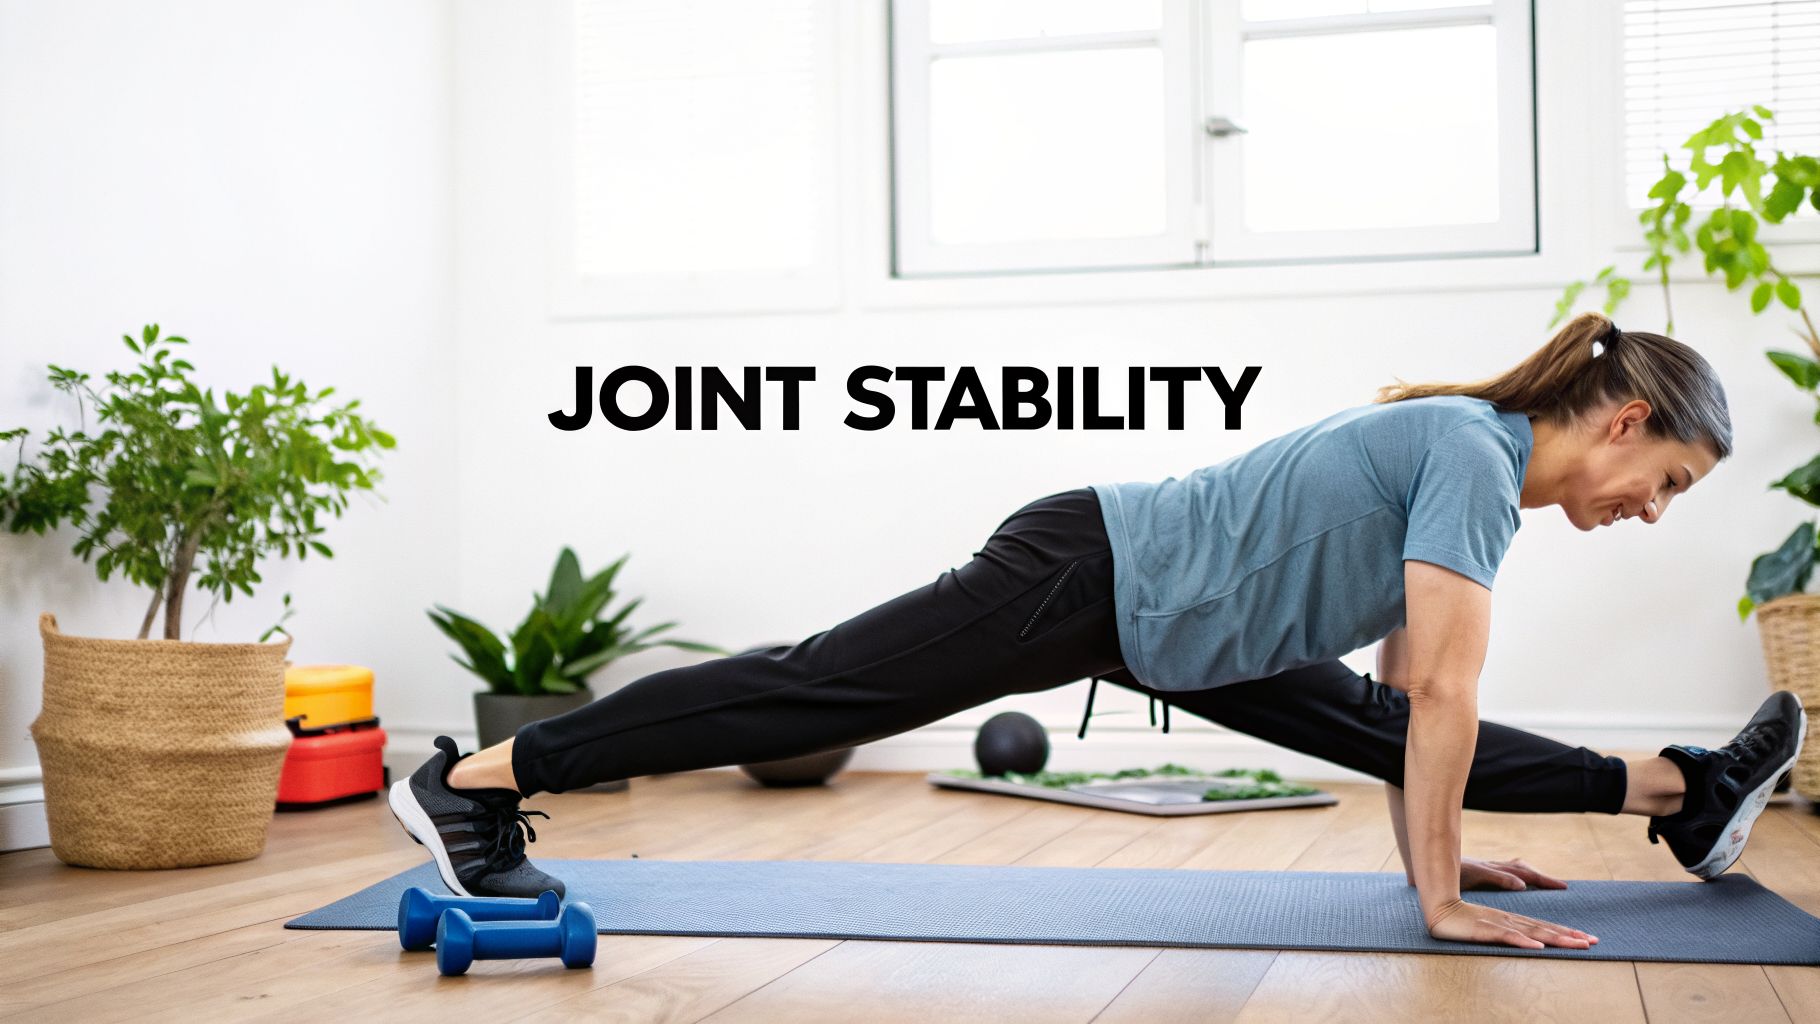
Joint stability exercises aren't just about getting stronger in the traditional sense. They’re a specific kind of training designed to beef up the muscles around your joints, giving you rock-solid control over your movements and seriously cutting down your risk of injury. We're talking about building endurance and control in those tiny, unsung hero muscles that act like a natural brace for your ankles, knees, hips, and shoulders.

Ever get that sudden, sharp twinge in your knee on the stairs? Or feel your ankle threaten to give out on a patch of uneven sidewalk? That’s not just a random fluke. It's your body waving a red flag, sending a clear SOS that the crucial partnership between your muscles, ligaments, and nerves is a little out of whack.
This is exactly where joint stability work comes in. It goes way beyond just lifting heavy things to build a body that's truly resilient and ready for anything.
Let’s skip the confusing anatomy charts for a second. Picture your joints as bustling city intersections. Mobility is the green light—it lets your limbs move freely through their full range of motion. Stability, on the other hand, is the savvy traffic cop. It’s the network of muscles and nerves making sure every movement happens smoothly and safely, preventing a multi-car pile-up. Without that expert control, you get chaos. In your body, that chaos looks a lot like sprains, strains, and nagging chronic pain.
At the very core of joint stability is a fascinating concept called proprioception. Think of it as your body's internal GPS. It's a complex network of sensory nerves constantly feeding information to your brain about where your limbs are in space, all without you having to glance down. When you walk, these nerves are firing off messages, making thousands of tiny adjustments to keep you upright and balanced.
Joint stability exercises are basically a tune-up for this internal GPS.
By challenging your body with movements like a single-leg balance or a painfully slow, controlled lunge, you're fine-tuning that neural feedback loop. This makes your body lightning-fast at reacting to the unexpected, whether it's tripping on a rogue curb or having to shift your weight in a split second.
Proprioception is the unsung hero of all movement. It's the silent, invisible skill that makes the difference between a wobbly, hesitant step and a confident, powerful stride. Honing it is one of the single best things you can do to bulletproof your body against injury.
Let's be clear: this isn't some elite training secret reserved for professional athletes. This is about making your day-to-day life better, easier, and less painful.
Having solid joint stability is what allows you to:
By focusing on these foundational movements, you're building a smarter, more connected body from the inside out. It's a proactive strategy to guard your joints against the inevitable wear and tear of life. Strengthening your postural awareness through targeted exercises is another huge piece of the puzzle, creating a solid base for everything you do.
This guide is here to give you the practical tools you need to build that unshakable control, one joint at a time.
Think of your core and hips as the central command center for your entire body. It's the sturdy anchor that everything else—your shoulders, your knees, your spine—relies on for support. When this powerhouse is weak or just plain sleepy, instability doesn't just stay put. It sends chaotic ripples down to your knees and up to your shoulders, often leading to those mysterious aches and pains that seem to come out of nowhere.
So, fortifying this crucial hub is your first and most critical mission in building an unshakable body. This isn't about chasing a six-pack with a million crunches. Nope. This is about building a deep, functional strength that gives you real-world control and resilience.
What we're going for here is a 'muscular corset' that protects your spine and anchors your pelvis. We'll do it with a few smart, targeted joint stability exercises.
Let’s get right to it. Here are three foundational exercises that are absolute secret weapons for hip and core stability. They might look simple, but I promise you, performing them with precision is the key to unlocking their power.
The Bird-Dog
This is the king of anti-rotation exercises. It teaches your core to resist twisting forces, which is essential for protecting your lower back when you do just about anything, like picking a box up off the floor.
The Glute Bridge
This is a fantastic move for waking up your glutes and hamstrings—the primary muscles that support your hips and pelvis. The biggest mistake people make here is over-arching their lower back and letting their spine do all the work.
Side-Lying Leg Lifts
This exercise zeroes in on the gluteus medius, a critical stabilizer muscle on the side of your hip. When this muscle is strong, it prevents your knee from caving inward during activities like walking, running, or squatting. It’s a game-changer.
Look, with these joint stability exercises, form is everything. Rushing through reps just to get them done is a total waste of time. If you want to dig deeper into building that strong, functional midsection, exploring specific core stability exercises can give you a ton of great techniques to support your back and fix your posture.
The goal isn't to feel a burn; it's to feel control. Slow, deliberate movement trains the nervous system just as much as the muscles, creating a smarter, more responsive core.
This is exactly where a little tech can lend a hand. An app like Dalm uses AI to give you real-time feedback on your form. It can spot a subtle pelvic tilt during your Glute Bridge or a wobble in your torso during a Bird-Dog, giving you the immediate corrections you need to make sure you're actually building stability, not just going through the motions. You can also see how these same principles apply in a different setting in our guide on using yoga for beginner core strength.
And this isn't just a niche fitness trend. The physical therapy rehabilitation market is projected to absolutely explode, hitting USD 56.45 billion by 2034. Hip-related conditions are the fastest-growing part of that market. Why? A surge in osteoarthritis and fractures, which demand focused rehab to get people moving again.
Exercises like glute bridges and side-lying leg lifts are a direct and effective countermeasure. They build the muscular support needed to protect vulnerable joints and stop problems before they start. You can get the full scoop on these market dynamics in this detailed report on physical therapy rehabilitation.
Bottom line: building a strong powerhouse is non-negotiable for total-body stability. By mastering these fundamental movements, you lay the groundwork for everything else, safeguarding your joints and moving with more confidence and control than ever before.
Let's talk about the unsung heroes of your body: your knees and ankles. They silently absorb the shock of every step, jump, and pivot you make all day long. It's a thankless job, but it's time we gave these workhorse joints the rock-solid support they deserve.
This is your hands-on toolkit for building real resilience from the ground up. We’ll start with the fundamentals to wake up those tiny, crucial stabilizer muscles you've probably been ignoring. Then, we'll level up to dynamic drills that really challenge your control and body awareness.
You’re about to see exactly why a wobbly ankle is a direct threat to your knee's long-term health.
Before you can run a marathon, you have to be able to walk. And before you can build truly bulletproof knees, you need to master the art of standing on one leg. It sounds almost laughably simple, but trust me, it’s the bedrock of lower body stability.
Single-Leg Balance: Kick off your shoes and stand on one foot, keeping a slight, soft bend in your standing knee. Your goal is to hold this for 30-60 seconds without looking like you're trying to win a dance-off. To make it harder, close your eyes or try balancing on an unstable surface like a pillow. This forces all those tiny muscles in your foot and ankle to fire on all cylinders.
Calf Raises: Stand with your feet about hip-width apart. Slowly rise up onto the balls of your feet, pause for a beat at the top, and then lower back down with absolute control. This isn't about speed; it's about strengthening the gastrocnemius and soleus muscles, which act like a critical support system for your ankle joint.
These exercises aren't flashy, but they're non-negotiable for building the foundation. Think of it as teaching your feet and ankles to be smarter and more reactive. If you want to go deeper into how your body senses its position in space—a concept called proprioception—our guide on proprioception training concepts is a great next step.
A stable ankle is a knee's best friend. When your ankle is unstable and rolls, that force doesn't just disappear—it travels straight up the kinetic chain, putting your knee ligaments in a vulnerable and compromised position.
And don't forget, a strong core is the anchor for everything your lower body does. This progression is a perfect way to build that central stability that protects your joints downstream.
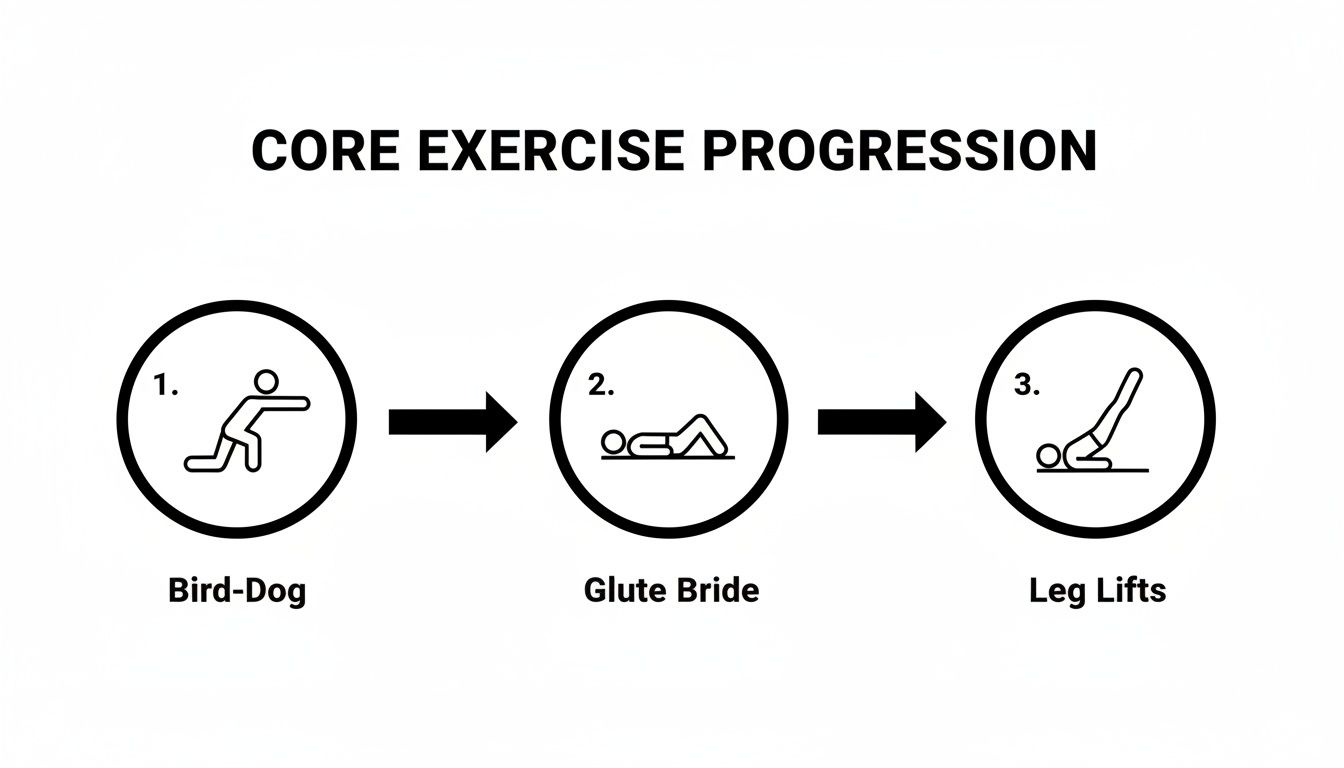
This sequence shows how to build core control from the ground up, moving from the stable four-point stance of the Bird-Dog to more dynamic glute and hip activation.
Once you've nailed the basics, it's time to add movement and challenge that stability under load. This is where your body learns to maintain control during the unpredictable movements of real-world activities.
This exercise is a secret weapon for strengthening the vastus medialis oblique (VMO), that teardrop-shaped muscle on the inside of your quad. A strong VMO is absolutely essential for keeping your kneecap tracking properly.
This drill is fantastic because it forces you to control your body in multiple directions, just like you have to do in sports or even just navigating a crowded sidewalk.
These kinds of targeted movements are more important than ever. The demand for joint replacements is skyrocketing; the global market hit an astounding USD 20,893.3 million in 2022 and is projected to climb past USD 28,698.0 million by 2030. What's driving this? Knee replacements, which make up a massive 47.35% of the market. This shows just how widespread knee instability issues have become. A consistent stability routine can dramatically lower your risk of becoming a statistic.
The table below breaks down a simple progression to help you build stability from the ground up.
Here's a quick cheat sheet to help you progress from the absolute basics to more challenging movements for both your knees and ankles. Start where you feel comfortable and stable, and only move on when you've mastered the previous step.
Remember, the goal isn't just to do the exercise, but to do it with perfect control. That's how you build true, lasting stability.
Perfecting these exercises is all about precision. A slight inward collapse of the knee (known as knee valgus) during a lunge, or a foot that isn't properly aligned, can end up reinforcing bad habits instead of fixing them.
This is where smart feedback from an AI-powered app like Dalm can be a game-changer.
Imagine you're doing a single-leg balance. The app can detect if your hip is dropping or if your ankle is rolling in too much. It then gives you real-time voice cues like, "Lift your hip" or "Press through the outer edge of your foot." This immediate correction helps you build unshakeable stability with every single rep, turning simple practice into a smart, corrective routine.
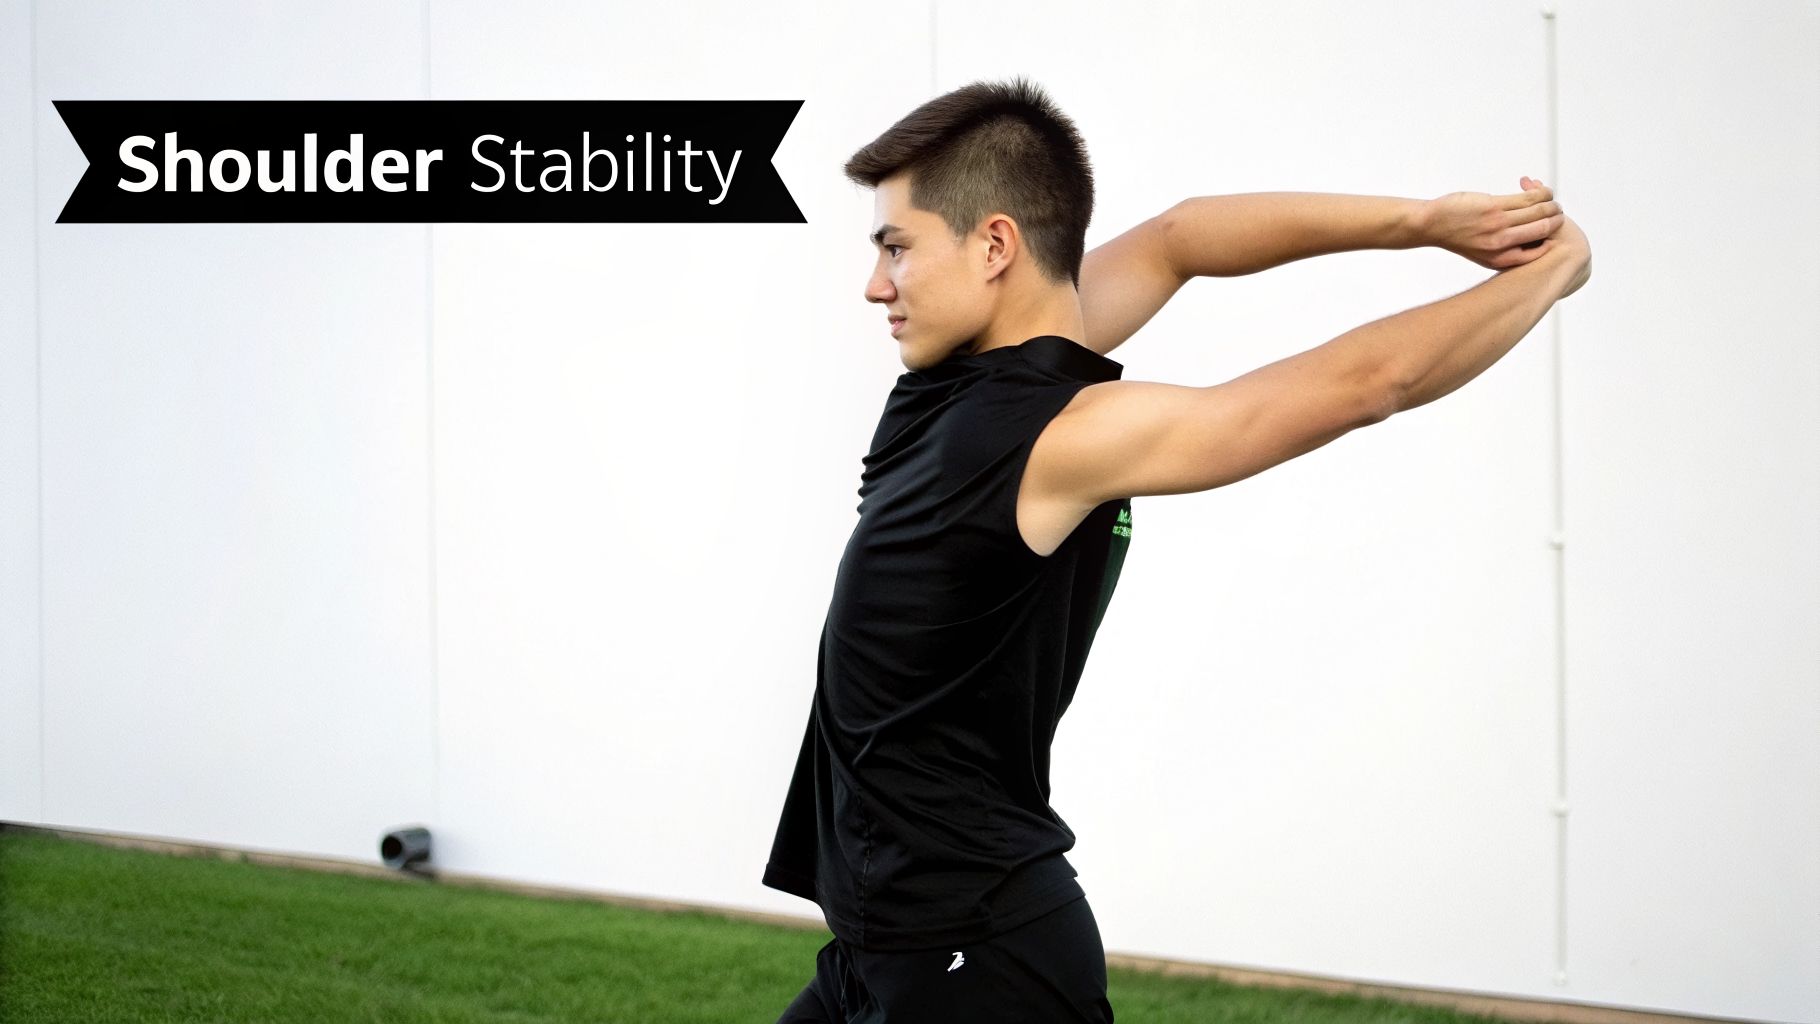
Let’s be honest, your shoulders have a tough job. They need to be incredibly mobile so you can throw a ball, reach for the top shelf, or lift your kid, but they also need to be rock-solid to keep you from getting hurt. It’s a delicate balance, and one that’s easy to get wrong.
This isn’t about building massive, boulder-like delts. Forget the big, showy muscles for a minute. We're going to focus on the real heroes of shoulder health—the small, deep muscles you can’t see in the mirror but absolutely cannot live without. I'm talking about your rotator cuff and scapular stabilizers.
Think of these muscles as an intelligent support crew, holding the ball of your upper arm bone snugly in its very shallow socket. When they get lazy or uncoordinated, that’s when you get that all-too-familiar pinching, clicking, or deep, nagging ache. It’s time to give them the attention they deserve.
Before you even think about the rotator cuff, you have to get your shoulder blades (your scapulae) on board. They are the literal foundation for every single thing your arm does. If the foundation is wobbly, the whole structure is a mess.
Your first mission: Scapular Push-Ups. Get into a push-up or all-fours position with your arms totally straight. Now, without an ounce of bend in your elbows, slowly pinch your shoulder blades together and let your chest sink. Then, push the floor away from you, feeling your upper back round and your shoulder blades glide apart. This tiny, precise movement is gold for activating the muscles that control your scapulae.
There's a reason every physical therapist on the planet loves this sequence—it systematically hits the key muscles that pull your shoulder blades back and down. This is the ultimate antidote to that dreaded keyboard-hunch posture that absolutely murders your shoulders. You can do these lying face-down on the floor or just bent over at the waist.
The secret sauce for all of these is to start the movement from your shoulder blades. Squeeze them first, then let the arms follow.
Okay, foundation is set. Now we can zero in on the rotator cuff itself. These four little muscles are the fine-tuners, responsible for rotation and keeping the joint perfectly centered.
The rotator cuff isn’t a powerlifter. Its job is endurance and precision. You’ll get far better results using light resistance with flawless form than by grabbing a heavy dumbbell and cheating your way through reps.
A simple and brutally effective exercise is the Band External Rotation. Anchor a light resistance band to something at elbow height. Stand sideways to it, grab the band, and physically pin your working elbow to your side. Seriously, glue it there. Now, keeping that elbow locked to your ribs, slowly rotate your forearm outward against the band. The movement is small, it's controlled, and it should burn in all the right places.
This focus on targeted stability is why the rehabilitation equipment market is projected to skyrocket to USD 47.2 billion by 2035. The biggest slice of that pie is musculoskeletal gear—like the simple resistance bands we're using—because it’s so effective for real-world functional training. These exercises are the key to preventing the very injuries driving this growth. You can read more about how the rehab market is growing and the massive role stability plays.
As you work through these drills, you need to be on high alert for these sneaky form-killers. They can completely undo all your hard work.
This is where an AI-powered tool like Dalm can be your secret weapon. Think of it as a virtual coach that catches those subtle but critical errors in real time. It can give you instant verbal cues like, "Relax your shoulders away from your ears" or "Engage your core to prevent your ribs from flaring." This feedback loop ensures you’re not just going through the motions—you’re moving correctly. You’re building smarter, more durable shoulders that are ready for anything you throw at them.
Okay, you know the what and the why behind joint stability. Now for the fun part: building a routine that actually works for you. This isn't about grinding yourself into dust; it's about smart, consistent work that fortifies your body against injury.
Think of this as your personal roadmap. We'll lay out how to structure your week, how much is enough, and the single most important skill you can learn: listening to what your body is telling you. This is how you turn a few exercises into a powerful, lifelong habit.
Before we dive into sample schedules, let's get a few things straight. These principles are the foundation of any good stability program, whether you're just starting out or you're a seasoned pro.
The way you schedule your stability work is going to depend on your fitness level and your goals. There's no one-size-fits-all answer, but here are some templates to get you started. And as you get more comfortable, consider adding a yoga stability disc balance trainer to the mix—it’s a fantastic way to up the challenge and wake up your core.
The best program is the one you actually stick with. Start small, build momentum, and let your progress guide you. Don't let the pursuit of a "perfect" plan stop you from just getting started.
To make things crystal clear, let's break down what a week could look like for different experience levels.
This table gives you a bird's-eye view of how to weave stability training into your week, no matter where you're starting from.
Remember, these are just examples. The goal is to create a rhythm that feels manageable and keeps you engaged over the long haul.
Progress is the name of the game, but it's easy to push too soon or stay in your comfort zone for too long. How do you know it's time to make things harder?
Look for these three green lights:
Once you can check all three boxes, it's time to introduce a new challenge. That could mean adding an unstable surface, grabbing a heavier band, or progressing to a more dynamic version of the exercise. This is also where a tool like Dalm can be your secret weapon, providing real-time data on your balance and control to show you exactly when you've mastered a movement and are ready for what's next.
Jumping into any new fitness routine can feel like you're navigating a minefield of questions. Let's clear the air and tackle some of the most common things people ask about joint stability. My goal is to give you the straight-up, no-fluff answers you need to start training with confidence.
When it comes to building stability, consistency is king. Forget about going all-out once a week; it's the regular, gentle nudges that teach your body how to be strong.
Aim to weave these movements into your routine 2-3 times per week, and make sure you take a day off in between. That rest day is non-negotiable—it's when your smaller stabilizer muscles and your nervous system actually get the chance to recover and rebuild stronger.
And don't think you need to carve out a huge chunk of your day. A quick, focused 10-15 minute session on your ankles before a run or your hips before leg day can work wonders. The idea is to wake up the right muscles, not wear them out.
This is a big one, and the answer is a cautious, "it depends." The most important thing you can do is learn to listen to what your body is telling you. If you're dealing with any kind of sharp, shooting, or nagging pain that just won't quit, your first stop should be a chat with a doctor or a physical therapist. No exceptions.
But for those minor aches, feelings of general weakness, or that frustrating "wobbly" sensation, these exercises can often be the exact medicine you need.
The golden rule here is to challenge, not threaten. A good stability exercise should make the joint feel supported and engaged, not stressed or painful.
Always start with the simplest, lowest-impact version you can think of. For instance, instead of pumping out glute bridge reps, just lift your hips and hold that top position for 20-30 seconds. If anything sends a jolt of pain, stop. Back off, and try something even gentler.
Fantastic question! People mix these two up all the time, but they're two sides of the same coin. Think of them as partners in crime for healthy movement.
You absolutely need both. All the flexibility in the world is useless—and dangerous—without the strength to control it. It’s like having a Ferrari with mushy brakes and a loose steering wheel. You’ve got all this potential for speed, but zero control, making an accident almost inevitable. Stability training is how you build those high-performance brakes and that precision steering for your body.
Not at all. And honestly, that’s one of the best things about this kind of training. You can build an incredibly resilient and stable body with nothing more than, well, you and a bit of floor space.
The most effective stability exercises—think single-leg balances, planks, bird-dogs, and bodyweight glute bridges—require zero gear. As you get stronger, you might want to add a little spice with simple tools like resistance bands or a foam pad, but they're bonuses, not necessities. You have everything you need to start building a rock-solid foundation right in your living room.
Ready to stop guessing and start building stability the right way? Dalm’s AI gives you real-time, medical-grade feedback on your form, helping you master every single movement. Get your personalized AI yoga coach today at Dalm.co and see what perfect form feels like.


