
Yoga for Shoulder Mobility: Simple Routines to Restore Range of Motion
Let's be honest, if you've ever felt that soul-crushing pinch in your shoulder after a marathon session at your desk, you're in good company. Our modern lives—glued to screens and stuck in chairs—are practically a masterclass in wrecking our posture. We're constantly forcing our shoulders into a slumped, rounded position.
This isn't just about feeling a little stiff. It's about slowly chipping away at the incredible freedom of movement your shoulders were designed for. The shoulder is the most mobile joint in your entire body, built for reaching, swinging, and throwing. When that mobility goes, even simple things like grabbing a mug from the top shelf or scratching your back feel like an Olympic event.
So, how do we fight back? This is where yoga comes in, and it’s so much more than just a few random stretches. It’s a complete system for re-educating your body and undoing the damage of daily life.
Yoga gets that your tight shoulders aren't just a "shoulder problem." The real culprits are often tight chest muscles (pecs) from hunching, a locked-up upper back (thoracic spine), and a tense neck. Yoga poses are designed to tackle all of it at once, creating space across your entire upper body.
You can stretch all day, but if the tiny muscles that support your shoulder joint are weak, you're just asking for trouble. Yoga builds stability by strengthening the small, crucial muscles around your rotator cuff and shoulder blades. This creates a strong, stable foundation that allows for safe, expansive movement. True mobility is a perfect marriage of flexibility and strength.
Most of us don't even realize we're slouching until the pain kicks in. Yoga hones your proprioception—your sense of where your body is in space. This heightened awareness is the secret sauce for breaking bad habits. In fact, improving your postural awareness is one of the most important steps you can take for long-term relief.
The real magic of yoga isn't just stretching. It's about teaching your shoulders how to move intelligently again, creating supported freedom that can undo years of accumulated tension.
This isn't just feel-good wellness talk; the benefits are real. In the US, a staggering 18-26% of adults deal with shoulder pain every single year. Yoga provides a proven, non-invasive way to find relief.
Research backs this up, showing significant pain reduction and better function in studies on related issues like neck pain after just a nine-week yoga program. For a healthy shoulder, you should be able to lift your arm forward or out to the side nearly 180 degrees. A consistent yoga practice is one of the best ways to get that healthy, functional range back.
Don't have a full hour? No problem. This quick routine is the perfect way to start your day or take a break from your desk. Just a few minutes can make a world of difference in how your shoulders feel.
Consistency is key here. Think of this as brushing your teeth for your shoulders—a simple, non-negotiable part of your daily wellness that keeps everything working smoothly.
Alright, let's get down to business—the fun part. It's time to get on the mat and start unlocking those tight, stubborn shoulders. Think of these poses as the secret keys to your mobility. I'm not just going to list them; we're going to dive deep into the how and the why behind each one, so you can truly feel the change happening.
This whole process is about turning that stiffness into fluid, functional movement.
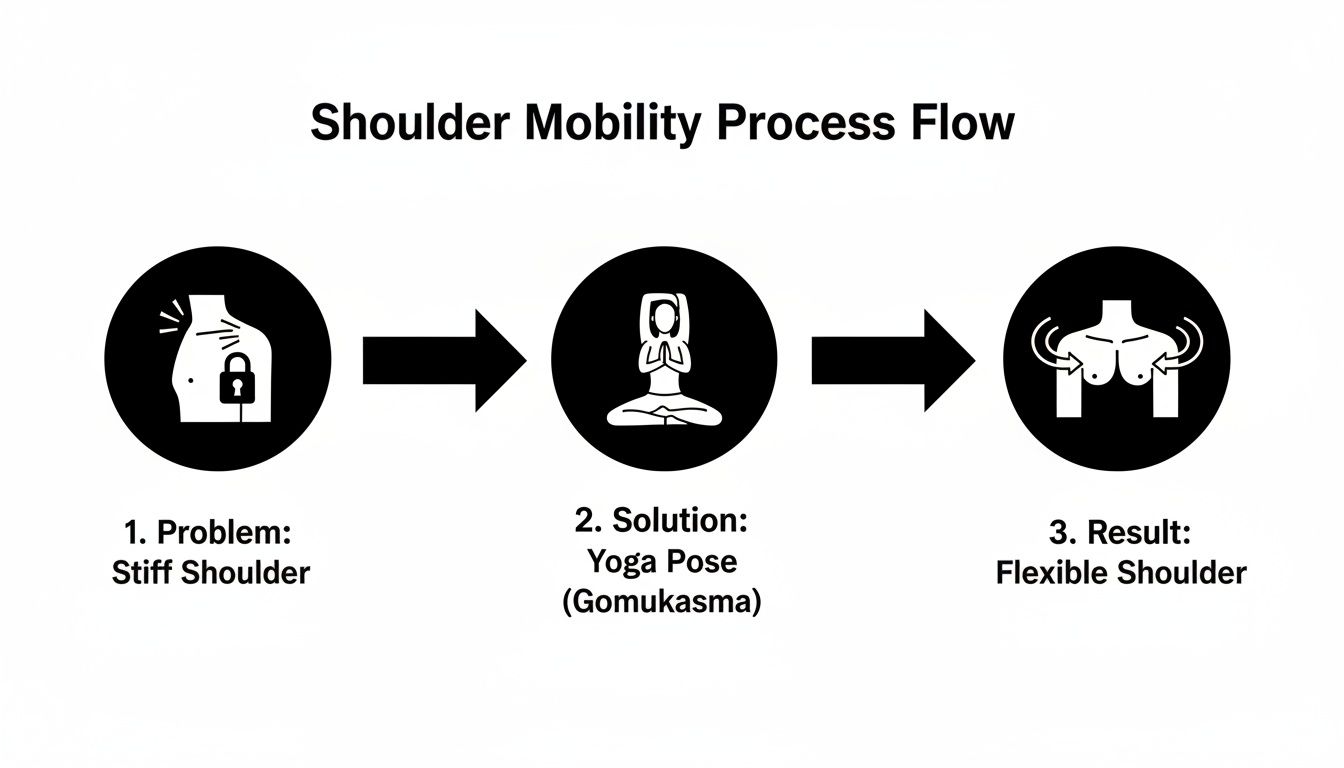
As you can see, it’s not magic. It’s about specific, targeted movements that teach your body how to open up again.
Don't dismiss this one as "just a warm-up." Cat-Cow is foundational. It’s your first lesson in connecting breath to movement, which is crucial for waking up all the supporting muscles around your shoulder girdle and upper back.
Find your way to a tabletop position—wrists stacked under shoulders, knees under hips.
The most common mistake I see is people rushing. Slow it way down. The real magic happens when you can actually feel your shoulder blades (your scapula) gliding over your ribcage. This builds body awareness that you'll need for everything else we do.
This is my go-to remedy for the "computer hunch." Thread the Needle is a wonderfully gentle twist that gets right into the muscles of your upper back and the often-neglected backs of your shoulders (the posterior delts).
From that same all-fours position, breathe in and sweep your right arm high. Open your chest to the side. As you breathe out, "thread" that right arm under your left, gently lowering your right shoulder and cheek to the mat. Your left hand can stay put or, for a little extra spice, walk it toward the top of your mat.
My Favorite Tip: Don't just flop here. Actively press your supporting (left) hand into the floor. This simple action deepens the twist and creates a fantastic sense of space between your shoulder blades.
Hang out here for 5 to 8 deep breaths, then gently switch sides. This pose isn't about forcing anything; it's about letting gravity and your breath do the heavy lifting.
Ah, Puppy Pose. I like to call this one "Melting Heart" because that’s exactly what it feels like—a glorious opening for your chest, shoulders, lats, and triceps. It's the perfect antidote to a day spent slouching over a keyboard.
Starting on all fours again, begin to walk your hands forward but keep your hips stacked right over your knees. Now, let your chest melt down towards the floor. You can rest your forehead on the mat, or if you’re feeling more open, bring your chin to the mat for a deeper stretch.
Holding this pose helps reprogram your upper body to stay open instead of caving in. If you're new to all this, adding these movements into a regular routine is non-negotiable. For more ideas on how to get your body ready, check out our guide on essential yoga warm-up exercises.
Seriously, don't skip the warm-up! Making sure your muscles are prepped and ready is the single best way to reduce your risk of strain and get the most out of your practice.
Let's get one thing straight: flexibility without strength is a recipe for disaster. True, lasting shoulder mobility isn't just about bending into pretzel shapes. It's about having the muscle control to support your joints through their entire range of motion. This is where we bust the myth that yoga is risky for shoulders. Done right, it makes them incredibly resilient.
We're going to shift our focus from just stretching to actively strengthening. Think of poses like Plank and Downward-Facing Dog. They aren't just for endurance; they are masterclasses in shoulder stabilization, teaching you to fire up the right muscles to create a solid, dependable shoulder girdle. This is the difference between flimsy movement and powerful, supported mobility.
Ah, Downward-Facing Dog (Adho Mukha Svanasana). It’s in almost every yoga class, but it's so easy to get wrong, especially for the shoulders. The common mistake? Dumping all your weight into your wrists and letting your shoulders creep up to your ears. Ouch.
Let’s reframe this as an active pose. Start on your hands and knees, then tuck your toes and send your hips to the sky. Forget about getting your legs perfectly straight for now. The real goal is a long, uninterrupted line from your hands all the way to your hips.
Here’s how to make it a shoulder-strengthening superstar:
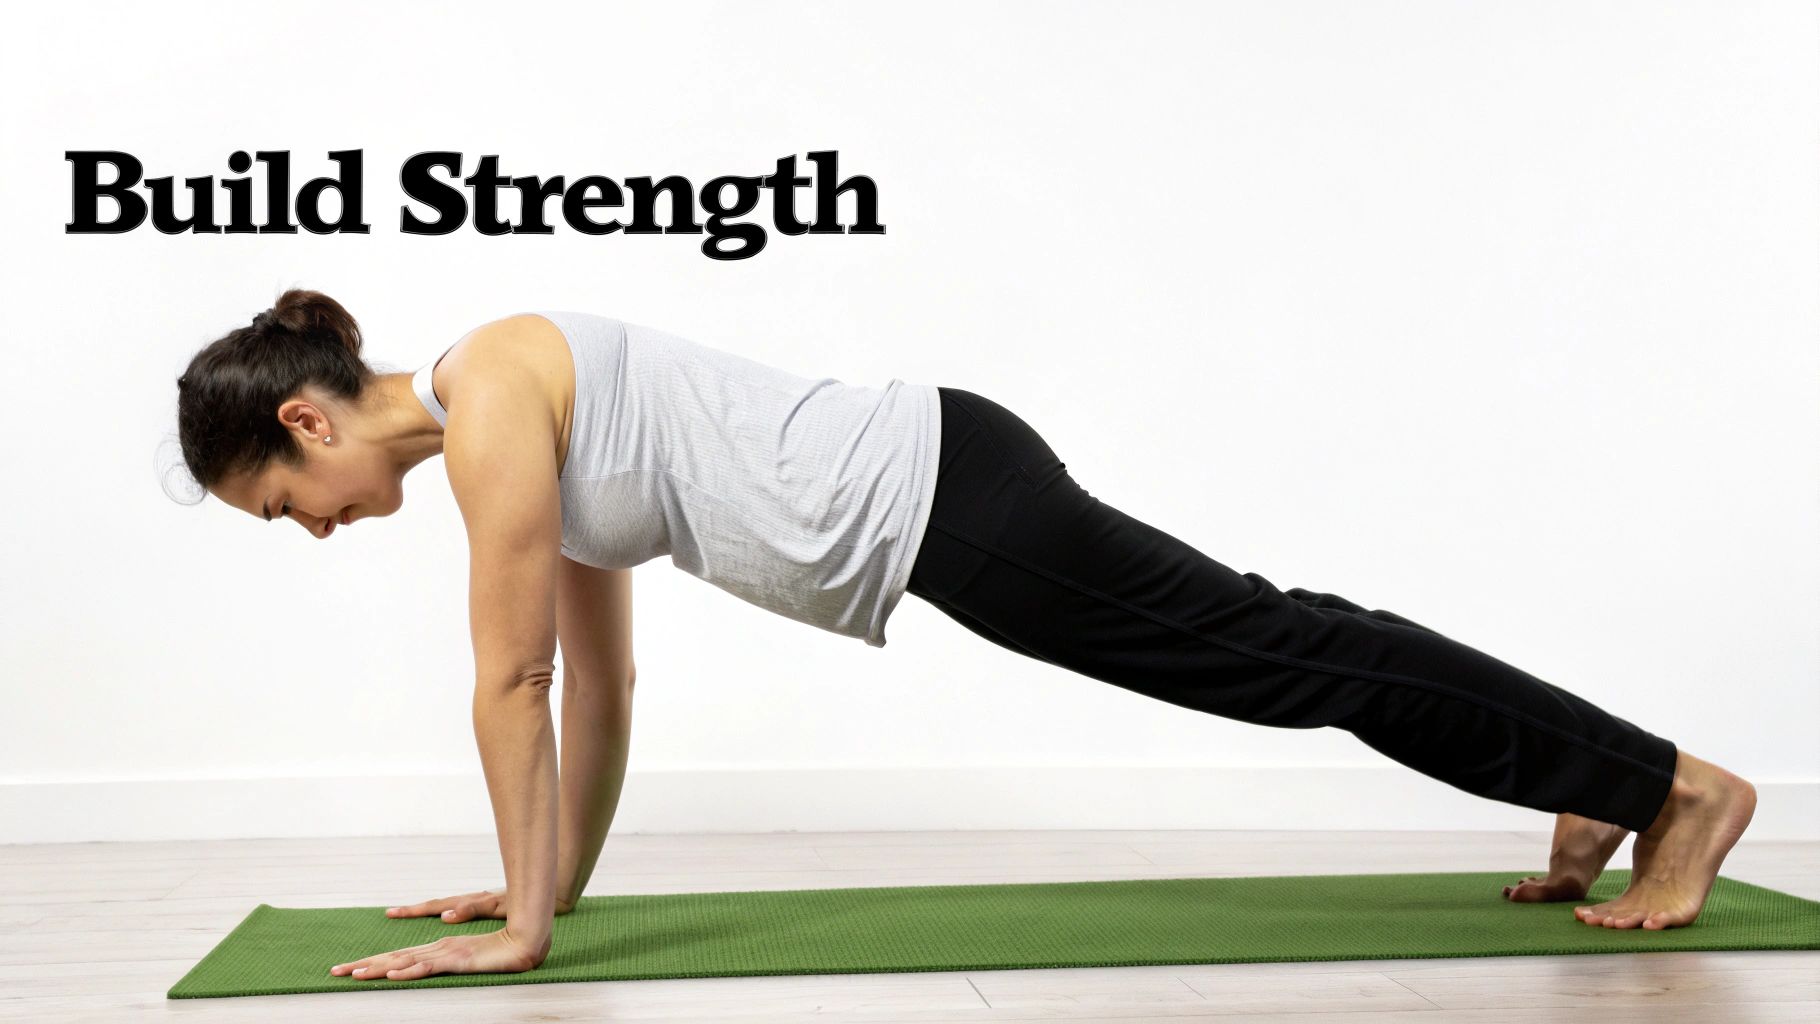
Plank Pose is the ultimate gut-check for shoulder stability. It forces your entire shoulder girdle to work together to hold you up. If you start shaking or your lower back begins to sag, it's a clear signal that your shoulder stabilizers need a little more love.
Pro-Tip for Building Strength:
Start on your knees! Seriously, there’s no shame in modifying. A rock-solid plank on your knees is infinitely better than a sloppy, sagging one on your toes. The same rules apply: maintain a straight line from your head to your knees and actively push the ground away, just like in Downward Dog.
Mobility is strength in your flexibility. It’s about having the muscular control to move through a range of motion safely. Building this foundation is what fixes the improper movement patterns that can lead to pain.
Look, shoulder injuries aren't exactly rare in yoga, affecting a chunk of the 16% of U.S. adults who practice. But here’s the secret: building strength through proper alignment in these foundational poses is precisely how you prevent them. Focusing on stability helps you sidestep common injuries and correct the poor postural habits that cause a huge percentage of shoulder pain in the first place. For more great tips, you can find a ton of insights on building strong shoulders over at Yoga Journal.
Alright, let's get practical. The most powerful yoga practice isn't one you find in a book or a generic app—it's the one you build for yourself, one that actually fits into your crazy life.
You don't need to block out an hour every single day to feel a real difference. The secret is consistency. A little smart movement done regularly beats a monster session you only manage once a month. This is where you step in as the expert on your own body, mixing and matching poses to create something that feels less like a workout and more like hitting the reset button.
Whether you're an athlete getting ready to lift or you've been hunched over a keyboard for eight hours straight, the goal is the same: move with intention.
To give you a jumping-off point, I’ve put together two sample routines. Don't think of these as rigid rules. They're more like recipes—feel free to swap ingredients, add a little spice, or cut the time in half depending on what you need that day.
One is designed to wake everything up, and the other is your go-to for melting away the day's tension.
Here's a quick look at how you can structure your practice based on your schedule and goals.
These routines are just a starting point. The real magic happens when you start customizing them to what your body is telling you.
Think of this as a cup of coffee for your shoulders. The aim is to get blood flowing and gently coax your joints and muscles awake, setting you up for a day of better posture and movement.
After a long day, this sequence is all about letting go. We're focusing on longer, more passive holds to release that tight, bunched-up feeling in your upper back and shoulders. It’s a signal to your entire body that it's time to chill out.
The best yoga for your shoulders is the yoga you actually do. It's not about nailing the perfect pose; it's about consistently showing up for your body, even if it's just for five minutes.
Your number one job is to listen. If you feel a sharp, pinching pain, ease up immediately. If a stretch feels particularly juicy and productive, stay there for a few extra breaths. Your routine should be a conversation, not a dictatorship. Tune in, and you’ll build a practice that truly serves you for years.
When you first start working on your shoulder mobility, the enthusiasm is real. It feels so good to finally stretch out those tight spots! But it's all too easy to let that excitement get the best of you. The biggest pitfall I see is people pushing way too far, way too fast, turning a productive stretch into a potential strain.
Remember, the goal is always mindful movement, not forcing your body into a shape you saw on Instagram.
Another classic mistake is "dumping" all your weight into the shoulder joint instead of firing up the muscles that are supposed to be doing the work. Picture yourself in a Plank pose. Are your shoulders creeping up to say hello to your ears? Is your chest sinking toward the floor? That’s a telltale sign you’re just hanging on your joints, which is a one-way ticket to irritation.
So, how can you tell if what you're feeling is productive or a sign of trouble? This is huge. You absolutely have to learn the difference between the good ache of a muscle working and the sharp, pinching pain that's your body's emergency brake.
This isn't just me being dramatic. Shoulder injuries are a real concern in the yoga world. One study of over 1,300 teachers flagged them as a top issue. What’s even more eye-opening is that a staggering 55% of participants reported getting injured during their practice at some point, often from foundational poses like Downward Dog and Plank where proper muscle engagement is non-negotiable.
The good news? Actively engaging the right muscles—like the serratus anterior in Mountain Pose—is a proven way to build stability and keep those risks way down. You can dig deeper into yoga and shoulder injury prevention on issaonline.com.
Listening to your body isn't a suggestion; it's the number one rule of yoga. We're here to build resilience, not to test how much pain you can handle.
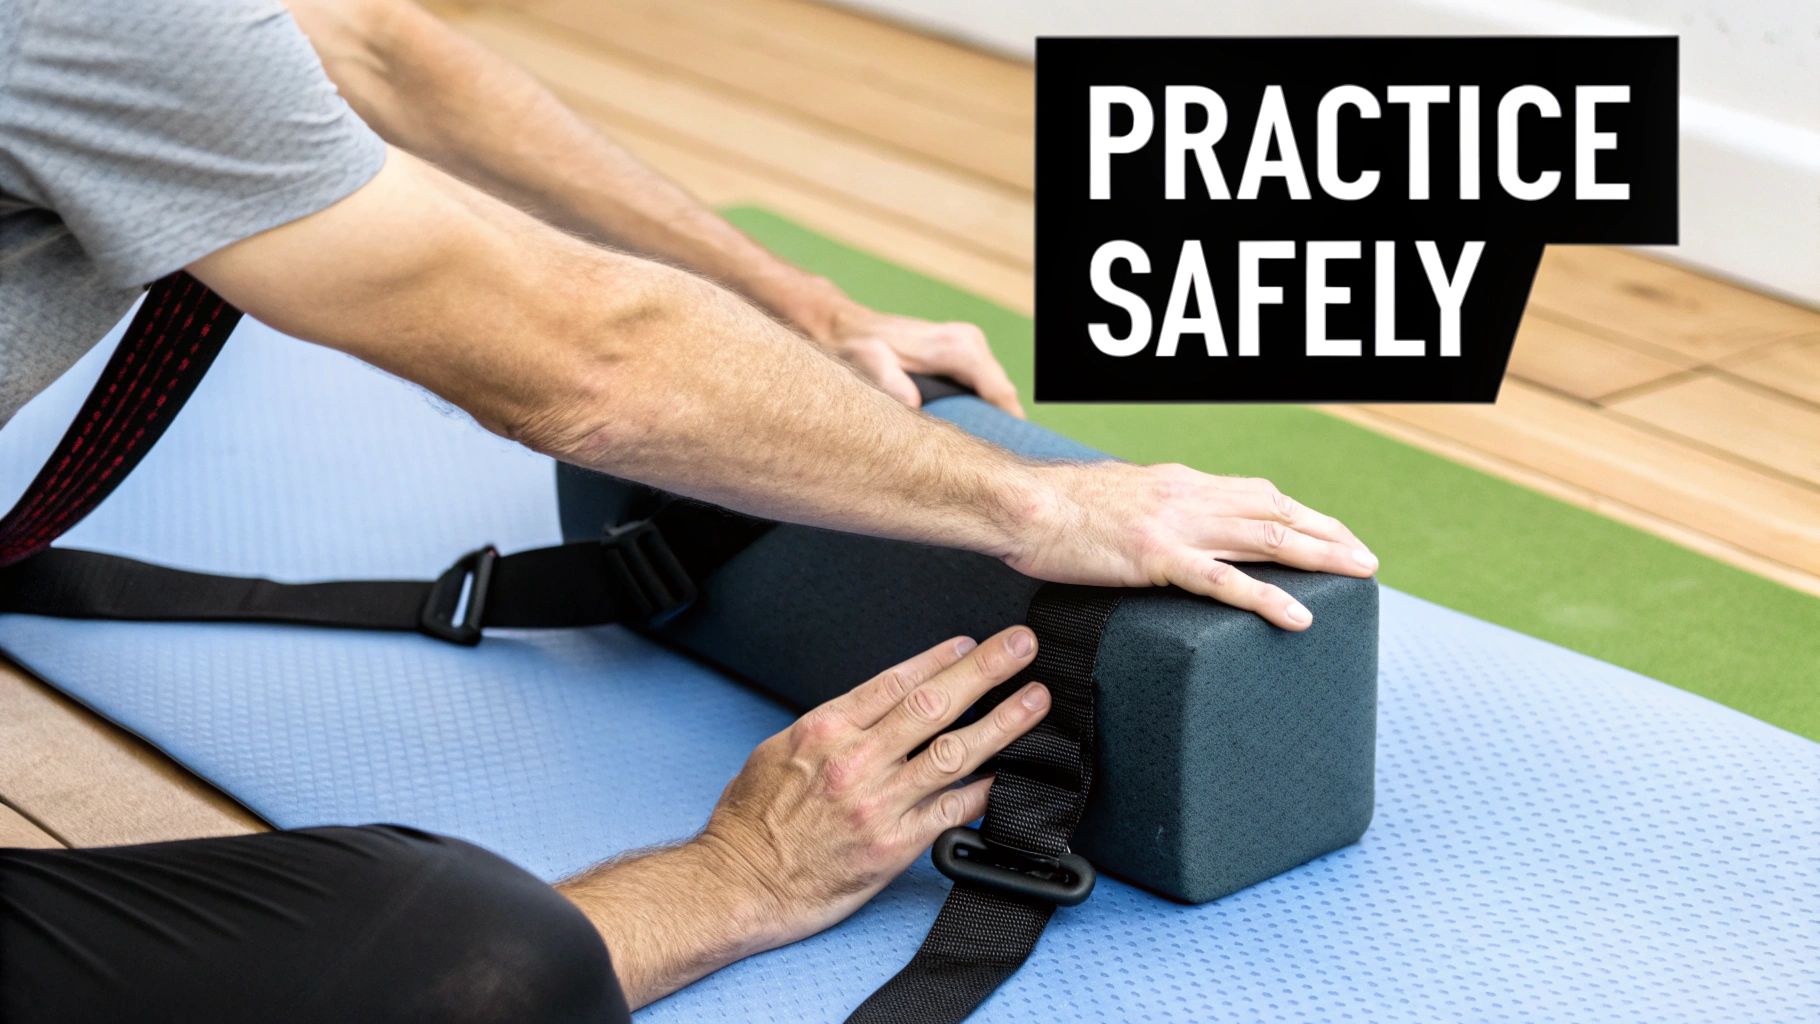
Props aren't a crutch or just for beginners—they're for smart yogis. Using props helps you tailor the pose to your body, making it safer and way more effective.
Think of props as your personal support crew. They help you find that sweet spot in every pose without ever having to compromise your form.
If you're looking to build out your collection, our guide on essential yoga equipment for beginners has you covered. Embracing these tools and practicing with intention is the key to keeping your shoulders happy and healthy for years to come.
Starting something new always sparks a bit of curiosity. Let's clear up some of the most common questions I hear about using yoga to free up your shoulders, so you can get on your mat feeling ready and confident.
Ah, the million-dollar question! Everyone's body is a little different, but I can tell you this: consistency is your secret weapon. You don't have to go all-out.
Most people start feeling a real difference—less of that nagging daily stiffness—within 2-4 weeks just by practicing 3-4 times a week. It's that "ahhh" feeling of freedom when you reach for something or put on a jacket.
But let's be real. If you're looking to unwind years of tension and seriously expand your range of motion, that’s more of a long-term relationship. Think a few months, not a few days. The goal here isn't a quick fix; it's about giving your shoulders a sustainable, healthy future. Celebrate the little victories along the way, like finally reaching that top shelf without a wince!
This is a big one, and the answer is a very careful "it depends."
If you're dealing with a fresh injury, sharp pain, or have a specific diagnosis, your first move is always to talk to a doctor or physical therapist. Get their explicit go-ahead before you even think about starting a new movement routine.
Now, for that general, garden-variety stiffness and tension? The poses in this guide can be incredibly therapeutic. The absolute golden rule is to listen to your body.
Your new mantra: "Challenge, don't strain." If you feel anything sharp, pinchy, or electric, that's your body's stop sign. Back off immediately. Real progress comes from working with your body, not fighting against it.
If you take only one piece of advice from this entire guide, make it this: create space. The best thing you can do for your shoulders in any pose is to actively slide your shoulder blades down your back, away from your ears.
This simple move, called scapular depression, is a game-changer. It stops the joint from getting jammed up or impinged and makes sure you're using your supportive back muscles instead of just hanging on the joint.
Think about it when you're in Downward-Facing Dog, reaching for a book, or even just standing in line at the grocery store. Keeping those shoulders relaxed and down is the key to happy, healthy shoulders for life.
Ready to fine-tune your alignment and see your progress in a whole new way? Dalm uses AI-powered pose analysis and real-time voice feedback to guide your practice with incredible precision. You can track your mobility gains and make sure every movement is safe and effective. See what it's all about at https://dalm.co.


