
Yoga for tight lower back: yoga for tight lower back relief that actually works

If you've ever felt that familiar, nagging ache in your lower back, you know it's no joke. The good news is that turning to yoga for a tight lower back is one of the best things you can do. Gentle, classic poses like Child's Pose or a flowing Cat-Cow aren't just stretches; they're targeted movements that release built-up tension and bring some much-needed mobility back to your spine.
Yoga doesn't just put a band-aid on the problem. It gets to the root causes of your discomfort, like chronically tight hips and a core that's gone on vacation, guiding you toward a stronger, healthier back for the long haul.
That persistent throb in your lower back rarely just shows up unannounced. More often than not, it's the result of a silent, slow-burning conspiracy between your daily habits and your body's mechanics. It’s less of a single "injury" and more of a symptom of imbalances happening elsewhere.
The modern workday is a major culprit. Think about it: hours spent hunched over a desk can cause your hip flexors to shorten and tighten, yanking your pelvis forward. This subtle tilt puts a constant, low-grade strain on your lumbar spine.
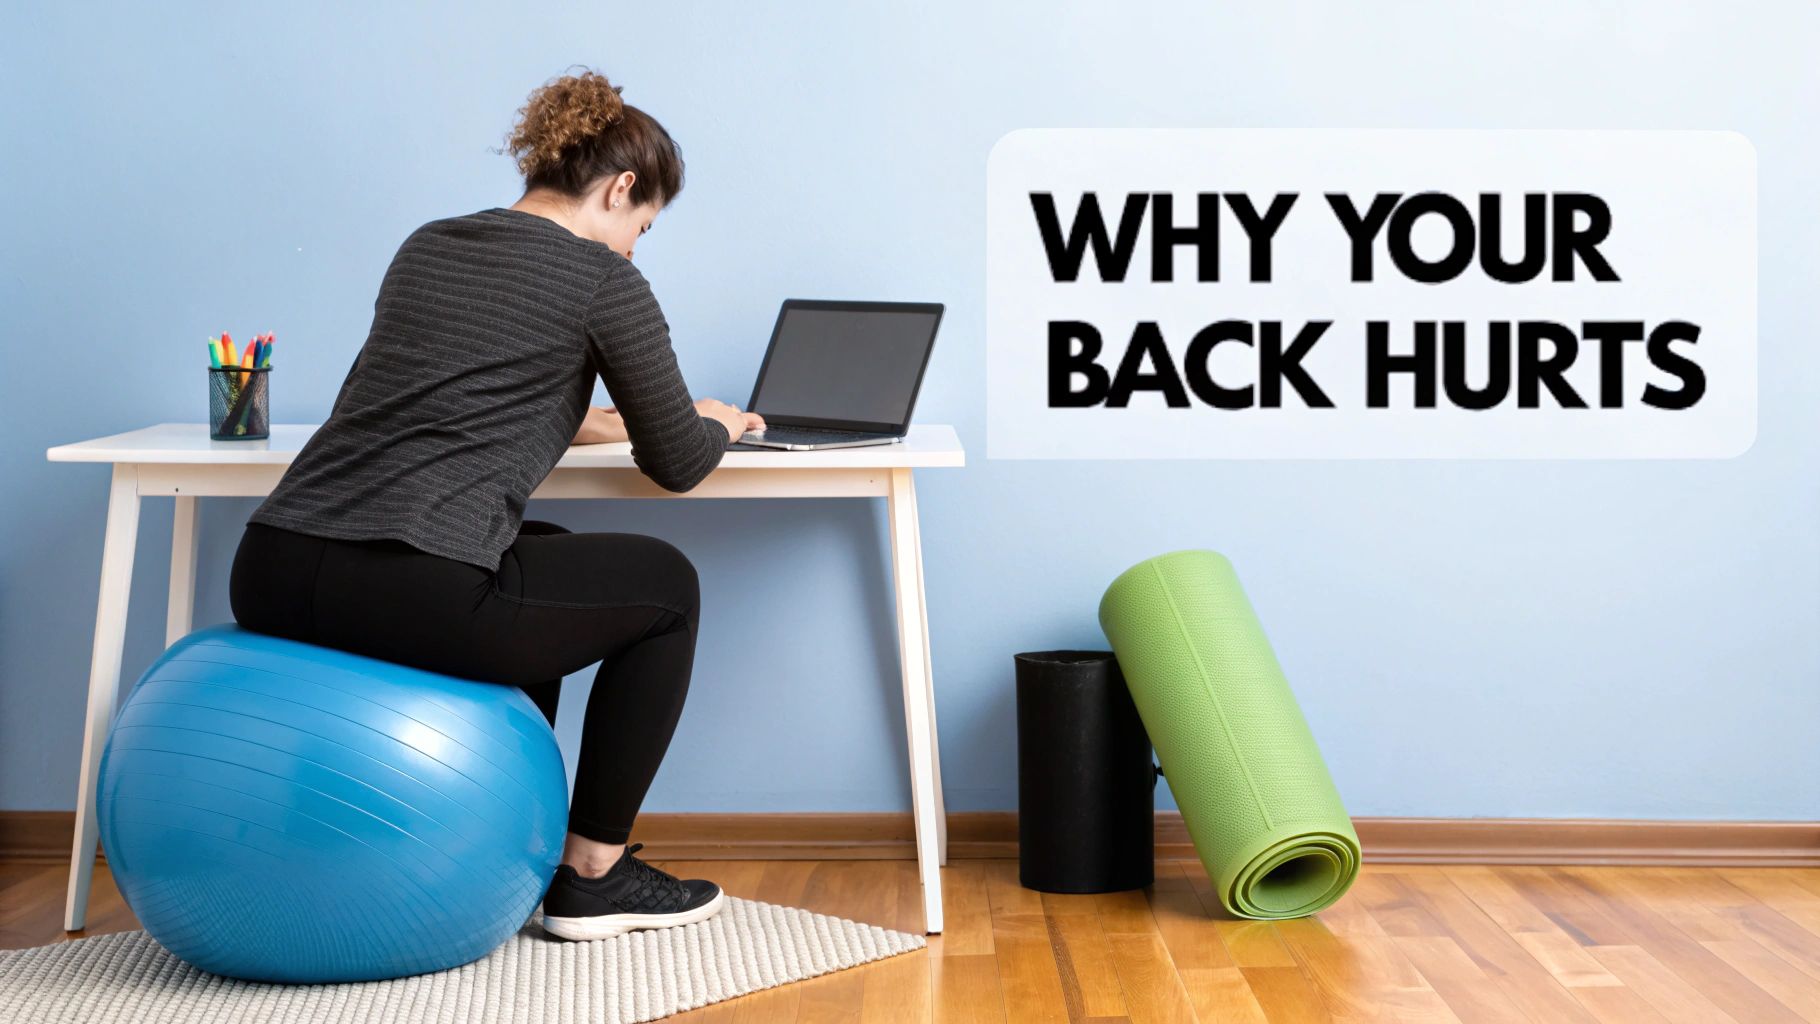
And this isn't just a problem for desk jockeys. Weekend warriors who go all-out at the gym or on the trail are just as susceptible. If your core muscles are weak, your poor lower back is forced to pick up the slack and provide stability it was never designed for. That leads directly to fatigue, tightness, and that all-too-familiar ache.
Your body is a masterpiece of cause and effect. When one area is out of whack, another part almost always pays the price. Your lower back, unfortunately, is often the one left holding the bag for stress coming from other muscle groups.
This is exactly where yoga for a tight lower back becomes your secret weapon. It doesn't just stretch the sore spot; it intelligently addresses the entire interconnected system. By lengthening your hamstrings, firing up your core, and releasing your hips, yoga helps restore balance and teaches your body how to move with more support and efficiency.
The reality is that lower back pain is one of the most common musculoskeletal complaints worldwide. Yoga has rightfully gained recognition as an evidence-based solution, not just a wellness trend.
The medical community's growing acceptance of yoga's power isn't just a hunch; it's backed by results. With the projected 30% rise in demand for yoga therapists in healthcare settings, it's clear that this practice is being recognized for its role in managing chronic pain, especially in the lumbar region. You can find more details on yoga's integration into healthcare here.
Let’s be real: jumping straight into a yoga routine when your back is already screaming for help is like trying to run a marathon without tying your shoes. It's a recipe for disaster. Before you even think about unrolling that mat, we need to run through a quick safety check.
This isn't about being overly cautious; it's about being smart. Your goal here is relief, not a one-way ticket to the doctor’s office. If you're dealing with sharp, shooting pains, numbness, or you've been diagnosed with something specific like a herniated disc or spondylolisthesis, stop right there. Your first move is to chat with a medical professional or a physical therapist. They’ll tell you exactly which movements are therapeutic and which are strictly off-limits for your body.
Got the all-clear? Great. Now it’s time to gently wake up the muscles you’re about to work with.
A cold, stiff back is an unhappy back. Dynamic warm-ups are your best friend here—they gradually get the blood flowing and improve mobility without shocking your system. Save the long, static holds for after your muscles are warm and ready.
Think of it like coaxing a sleepy cat out from under the bed. You’ve got to be gentle and patient.
These aren't just warm-ups; they are foundational movements in any practice focused on yoga for tight lower back.
Props like blocks, blankets, and bolsters aren't just for newbies—they're for smart yogis. When your lower back is tight, it’s a safe bet your hamstrings and hips are, too. This combo can make it nearly impossible to find proper alignment in many poses without a little help.
Ever try to force your hands to the floor in a forward fold with tight hamstrings? All that strain goes straight into your lower back. But if you place your hands on yoga blocks, you bring the floor up to you. Suddenly, you can maintain a long, safe spine.
Using a prop isn't a sign of weakness; it's a sign that you respect your body's current limitations. It’s the difference between forcing a shape and allowing your body to release into it safely.
Learning to use these tools effectively can completely change your practice, making poses feel way more accessible and beneficial. If you're putting together a home yoga kit, our guide to yoga equipment for beginners can help you pick the best props to support your back.
Even something as simple as a folded blanket under your hips in a seated twist can provide just enough lift to keep your lower back from rounding and straining. Listening to your body and giving it the support it needs is the fastest way to find real, lasting relief.
Alright, let’s get to the good stuff—the actual poses that will help you coax that cranky lower back into a state of blissful surrender. This isn't about twisting yourself into a human pretzel. The most powerful yoga for a tight lower back often involves the simplest, most gentle movements. We're aiming to create space where there's been compression, and that starts with mindful, easy stretches.
We'll work our way through a sequence that’s designed to meet you where you are. We’ll start with some foundational poses that feel amazing for pretty much everyone, then gradually move into movements that get a little deeper. Think of each pose as a conversation with your body; your job is to listen, not to force anything.
And before we jump in, a quick safety check. It’s always smart to listen to your body, and a quick glance at these reminders can make all the difference.
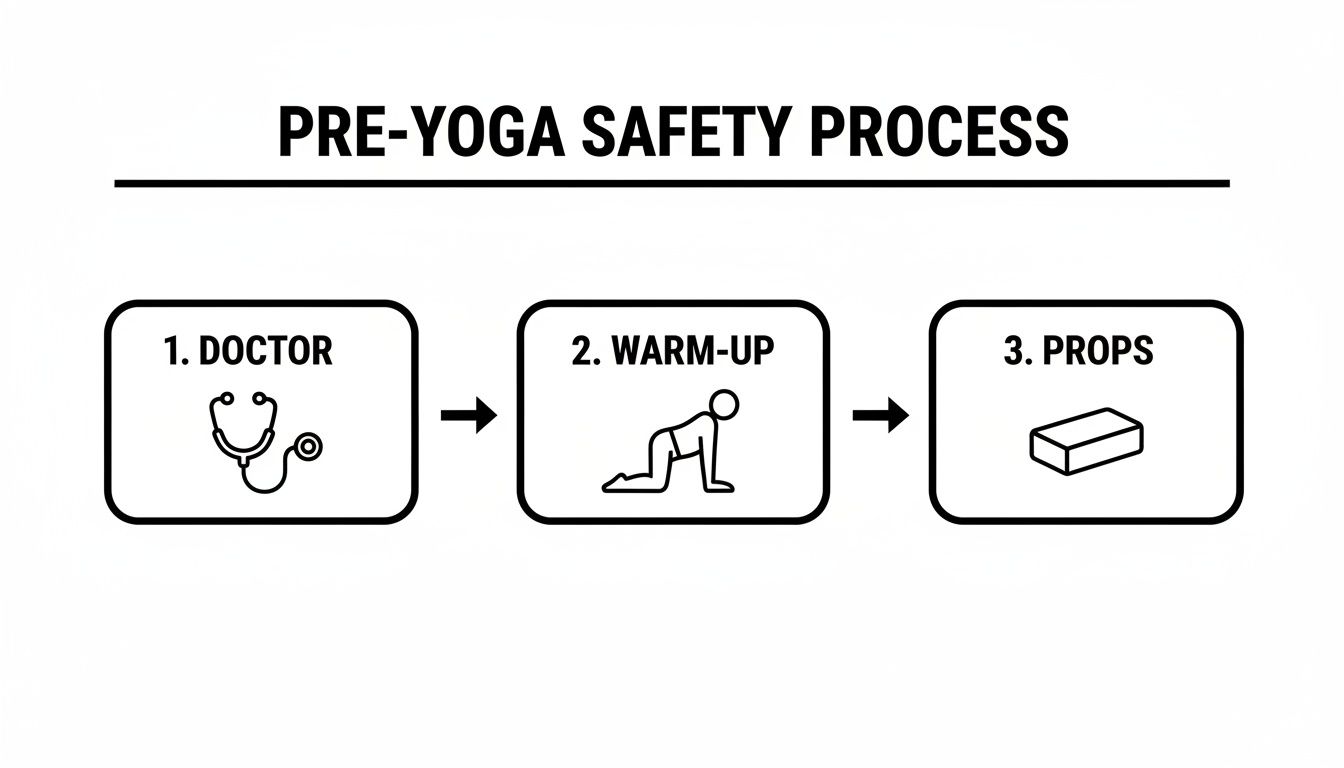
This little guide is your pre-flight checklist. Check in with a doctor if you have serious pain, always warm up a bit, and don't be shy about grabbing a pillow or block. A supported practice is a safe practice.
These first few poses are your emergency relief crew. They’re low-effort, high-reward, and perfect for days when your back is screaming or when you're just getting started. Think of them as hitting the reset button.
Child's Pose (Balasana)
There's a reason this is the universal "I need a break" pose in yoga. It gently lengthens your entire back, takes the pressure off your spine, and lets your hips and thighs just…let go.
Supine Twist (Supta Matsyendrasana)
Twists are like wringing out a sponge; they get into all those deep little muscles along your spine and squeeze the tension right out. This lying-down version is super safe and feels incredible.
So often, a tight lower back is just the messenger. The real culprits are often crazy-tight hip flexors, especially a deep core muscle called the psoas. These next poses gently persuade the front of your body to lengthen, giving the back of your body a much-needed break.
Sphinx Pose (Salamba Bhujangasana)
Sphinx is the perfect antidote to a day spent hunched over a keyboard. It’s a very mild backbend that encourages a natural curve in your lower spine, boosting blood flow and easing stiffness without the intensity of a full Cobra pose.
A little tech can help here. Using an AI-guided tool like Dalm for a pose like Sphinx is surprisingly useful. It might give you a nudge like, "Engage your core slightly," which is exactly the cue you need to prevent sagging into your lumbar spine and keep the pose therapeutic.
Low Lunge (Anjaneyasana)
This one is the undisputed champion of psoas stretches. Releasing this sneaky muscle can feel like you’ve unlocked a secret source of tension you didn't even know you were holding onto.
Once you're feeling good with the basics, you can start exploring poses that build a bit more strength and flexibility. The secret is to move slowly and with intention. Never, ever sacrifice good form just to go deeper. You'd be surprised how often the best yoga poses for beginners are all you ever really need for back pain.
Upward-Facing Dog (Urdhva Mukha Svanasana) Modification
A full "Up-Dog" can be a lot for a sensitive back. This modified version, which is really more of a high Cobra, gives you all the chest-opening benefits without the risk.
To make things even easier, here’s a quick-glance table to help you remember the key players and how they can help.
When you start weaving these poses into your day, you’re doing more than just a temporary stretch. You’re teaching your body new patterns, tackling the root causes of that tightness, and building a stronger, more resilient, and much happier lower back.
Let’s be real. When it comes to soothing a cranky lower back with yoga, the real game-changer isn't that one heroic, 90-minute class you barely survive. The magic happens in the small, consistent moments you carve out for yourself, day after day. A quick 10-minute stretch-out a few times a week will always, always do more good than a marathon session you only manage once a month.
When you show up consistently, you're sending a powerful signal to your body: "Hey, you can relax now." It’s how you gently persuade those chronically tight muscles to let go and teach the weaker, lazier ones to fire up. The whole point is to create a stronger, more balanced support system for your spine, making back care feel less like a chore and more like a sigh of relief.
This isn't just a hunch; it's a massive cultural shift. The global yoga market hit a staggering $107.1 billion in 2023 and is only getting bigger. Even the big-wigs are catching on—over 70% of Fortune 500 companies now offer yoga to their teams to help them de-stress and stay healthy. It's clear that people are waking up to the power of proactive wellness. You can read more about the impressive growth of the yoga market if you're curious.
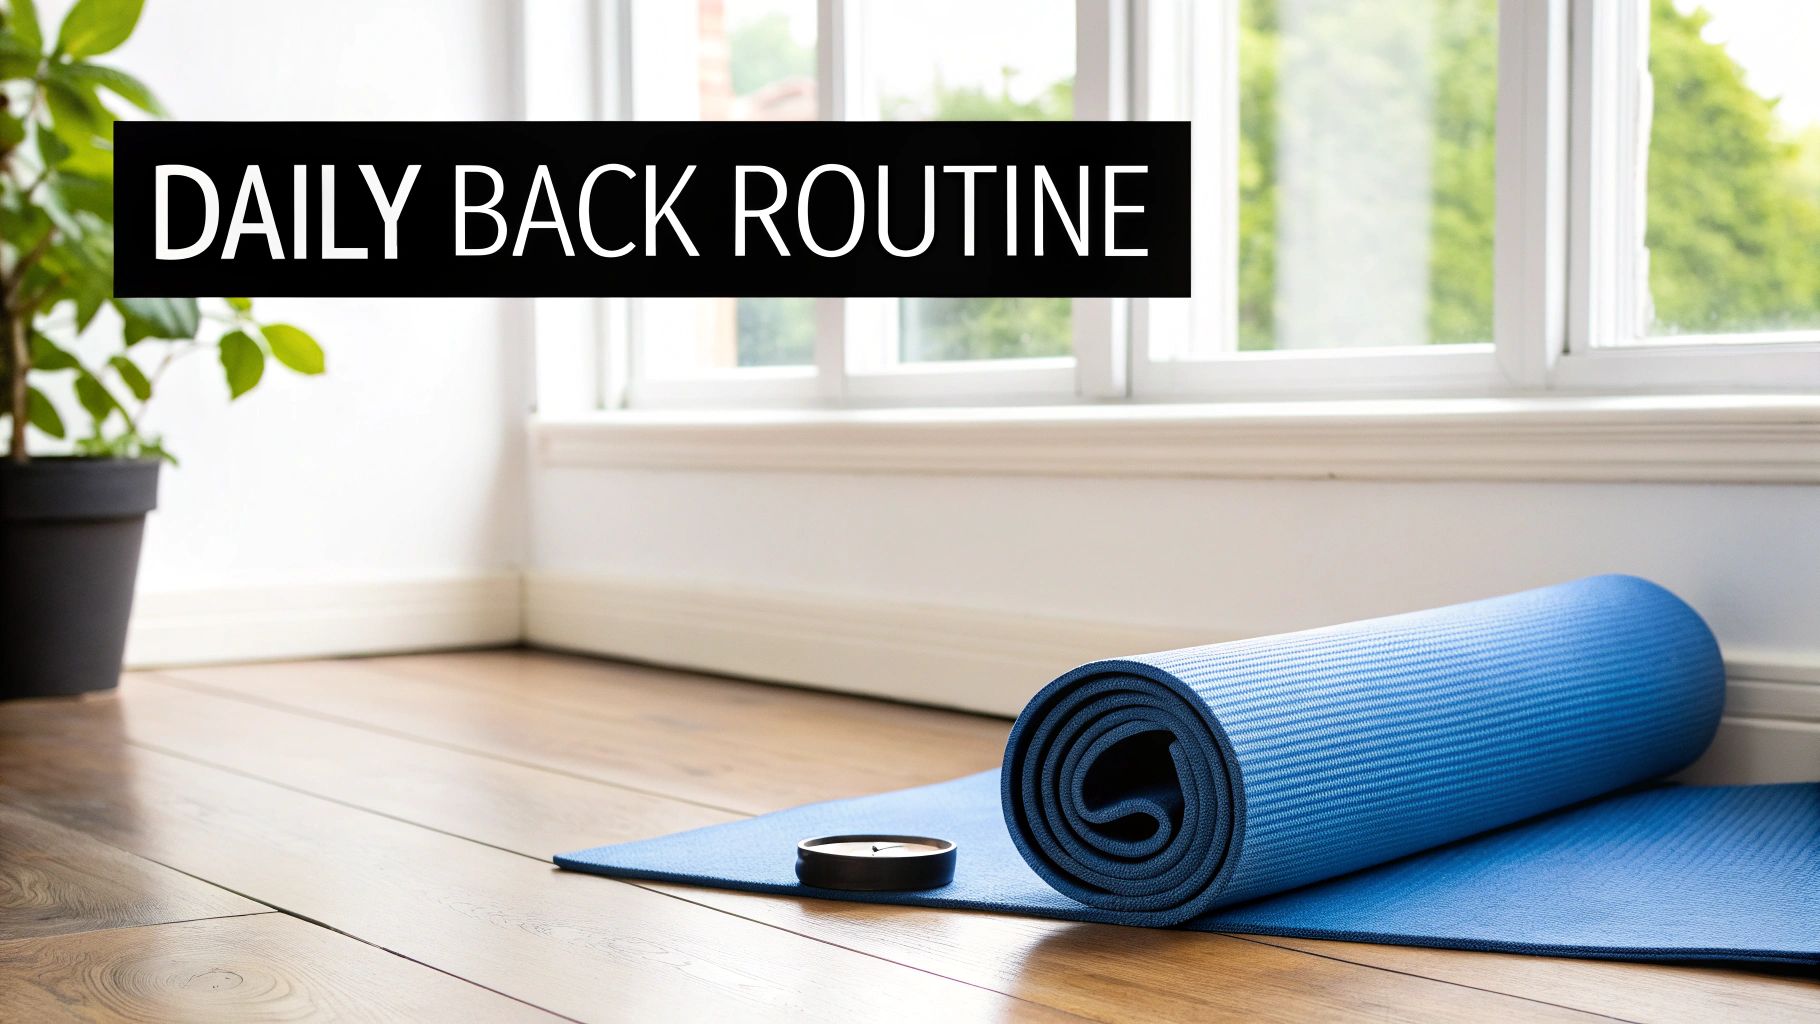
Life gets crazy. I get it. Your yoga practice should be a sanctuary, not another source of stress. So, here are three grab-and-go routines designed to melt that tension, no matter how much time you have.
Seriously, you can do this one before you even get out of bed. It’s the perfect way to gently greet your spine and ease out any stiffness that crept in overnight.
Feeling that dreaded "desk slump" by 2 PM? Hit the reset button with this sequence. You just need a little patch of floor in your office or at home.
Quick tip: Don't just mindlessly go through the motions. The secret sauce is linking your breath to the movement. Every time you exhale, imagine your muscles releasing and letting go of tension. It's a game-changer.
Think of these routines as a starting point, not a strict prescription. The real goal is to get good at listening to what your own body is telling you.
Some mornings, your hamstrings might be tighter than guitar strings. Other days, it’s your hips that are begging for a little love. Pay attention. If a pose feels amazing, stick with it for a few extra breaths. If another one causes any kind of sharp or pinching feeling, back off immediately and try something else.
Before you know it, you'll have built your own mental library of go-to moves for lower back relief. That's when your practice stops being something you do and starts being something you live.
Getting the poses down is a fantastic start, but the real magic for kicking lower back pain to the curb for good is in the details. It's about shifting from just doing the poses to understanding how you're doing them. This is where you level up your practice from a temporary band-aid to a real, lasting solution.
One of the most powerful tools you have is, believe it or not, your breath. So many of us with tight backs are shallow chest-breathers, which keeps our core in a constant state of low-key tension. Switching to deep "belly breathing" is like sending a direct message to your nervous system to just... chill out.
This simple change can help relax the psoas, that deep hip flexor that connects your legs to your spine. When your psoas is clenched, it yanks on your lumbar vertebrae, causing that all-too-familiar ache. Breathing deep into your belly coaxes that stubborn muscle to finally let go.
Here's another secret from the trenches: embrace the micro-movement. When a muscle is screamingly tight, trying to force it into a deep stretch often backfires. The muscle just seizes up even more to protect itself. Not exactly what we're going for.
Instead, ease into a gentle stretch and introduce tiny, almost imperceptible movements.
Take a Low Lunge, for example:
These tiny movements are like whispering to your nervous system, "Hey, we're safe here." This allows the muscles to release far more effectively than yanking on them ever could.
Nailing your form is everything when it comes to protecting your spine, but it's tough to be your own instructor. How do you know if you're really doing it right when you’re practicing solo? This is where technology steps in to give us a massive leg up.
AI-powered yoga apps can offer the kind of precise, real-time feedback that used to require a private teacher.
Think about Pigeon Pose. It's so easy to let your hips get wonky, which can stress your SI joint. An app like Dalm uses your phone's camera to analyze your alignment and can give you an instant verbal cue like, "Square your hips toward the front of the mat." That one correction can be the difference between relief and strain. It's a total game-changer for anyone doing yoga for a tight lower back at home. You can learn more about how smart yoga mats and AI are revolutionizing home practice.
This tech is like having a personal spotter in your pocket, making sure you hit the right muscles without putting pressure on the wrong spots. It helps you build rock-solid habits right from the start.
Finally, let's redefine what "progress" means. Being able to touch your toes is cool, but the real victory is how you feel living your life. Start a simple journal and jot down the answers to a few questions:
When you connect your time on the mat to these real-world wins, it's incredibly motivating. It's proof that what you're doing is actually working, making it so much easier to stay consistent and build a truly pain-free back for the long haul.
Diving into yoga when your back is already screaming at you can feel a little intimidating. It's totally normal to have a few questions buzzing around your head. So, let's talk through some of the big ones. Think of this as our little pre-yoga chat to get you feeling confident and ready to roll out your mat.
First up, the million-dollar question: how often do I really have to do this to feel a difference? The answer is probably less than you think. When it comes to healing a cranky back, consistency is your superpower, not intensity. A grueling hour-long session once a week just isn't going to cut it.
You'll get way more bang for your buck by doing 15-20 minutes of gentle, focused yoga three or four times a week. Even a quick 5-minute flow each morning can be a game-changer for keeping that familiar stiffness at bay. The trick is to start small and make it a non-negotiable part of your routine.
Okay, this is a big one, and the answer is super important. You need to learn the difference between the satisfying "good hurt" of a muscle stretch and actual, no-go pain. Pain is sharp, pinching, or zinging. It's your body's bright red stop sign.
The golden rule of yoga is simple: Never push through sharp pain. This isn't a competition. Your goal is to soothe your back, not to win a gold medal in the Forward Fold Olympics.
If a pose sends up a red flag, gently and immediately back off. This is where your props become your best friends. Grab a block or a folded blanket to bring the floor closer to you, which dials down the intensity. And if a certain pose just always feels wrong, no matter how you modify it? Just skip it. There are plenty of other ways to get the same benefit.
It’s a fair question, and I'll be straight with you: yes, it can—if you do it wrong. Throwing yourself into certain poses without paying attention to your form can absolutely make an angry back even angrier, especially if you're nursing a specific injury like a herniated disc.
So, what are the main culprits?
This is precisely why getting your alignment right is everything. An AI-guided tool can be a lifesaver here, giving you those little real-time corrections that teach you how to move safely. By focusing on good form over how "deep" the pose looks, you make sure your practice is healing your back, not hurting it.
Ready to perfect your form with a guide that watches and helps you in real-time? Dalm uses AI to give you instant feedback, ensuring every pose you do is safe, effective, and tailored to help your back feel its best. Start your journey to a happier spine at https://dalm.co.


