Welcome to the anti-slouch revolution! In a world that practically begs us to hunch over screens, reclaiming great posture feels like a superpower. It’s not just about looking more confident in your next meeting, it's about boosting your spinal health, breathing easier, and feeling more energized throughout your day. Good posture is an active state, a conversation between your muscles and your skeleton, and right now, that conversation might be a bit one-sided.
Forget vague advice like 'just sit up straight.' That’s like telling someone to 'just be a better cook' without giving them a recipe. This guide is your recipe book. We're diving deep into the 7 most effective yoga poses for better posture, serving up a detailed, no-fluff breakdown for each one. Think of it as your personal posture bootcamp.
You'll get more than just a list. We'll explore:
- Step-by-step alignment cues to get the form just right.
- Common mistakes that sabotage your efforts (and how to fix them).
- Modifications to make each pose work for your body.
- The 'why' behind each movement, with brief anatomy insights.
We’ll show you how to build the core strength and spinal awareness needed to stand tall effortlessly. Plus, we’ll even touch on how cutting-edge tools, like the Dalm AI posture feedback app, can give you medical-grade insights, turning your living room into a personalized yoga studio. Get ready to lengthen your spine, open your chest, and build the foundation to carry yourself with strength and ease.
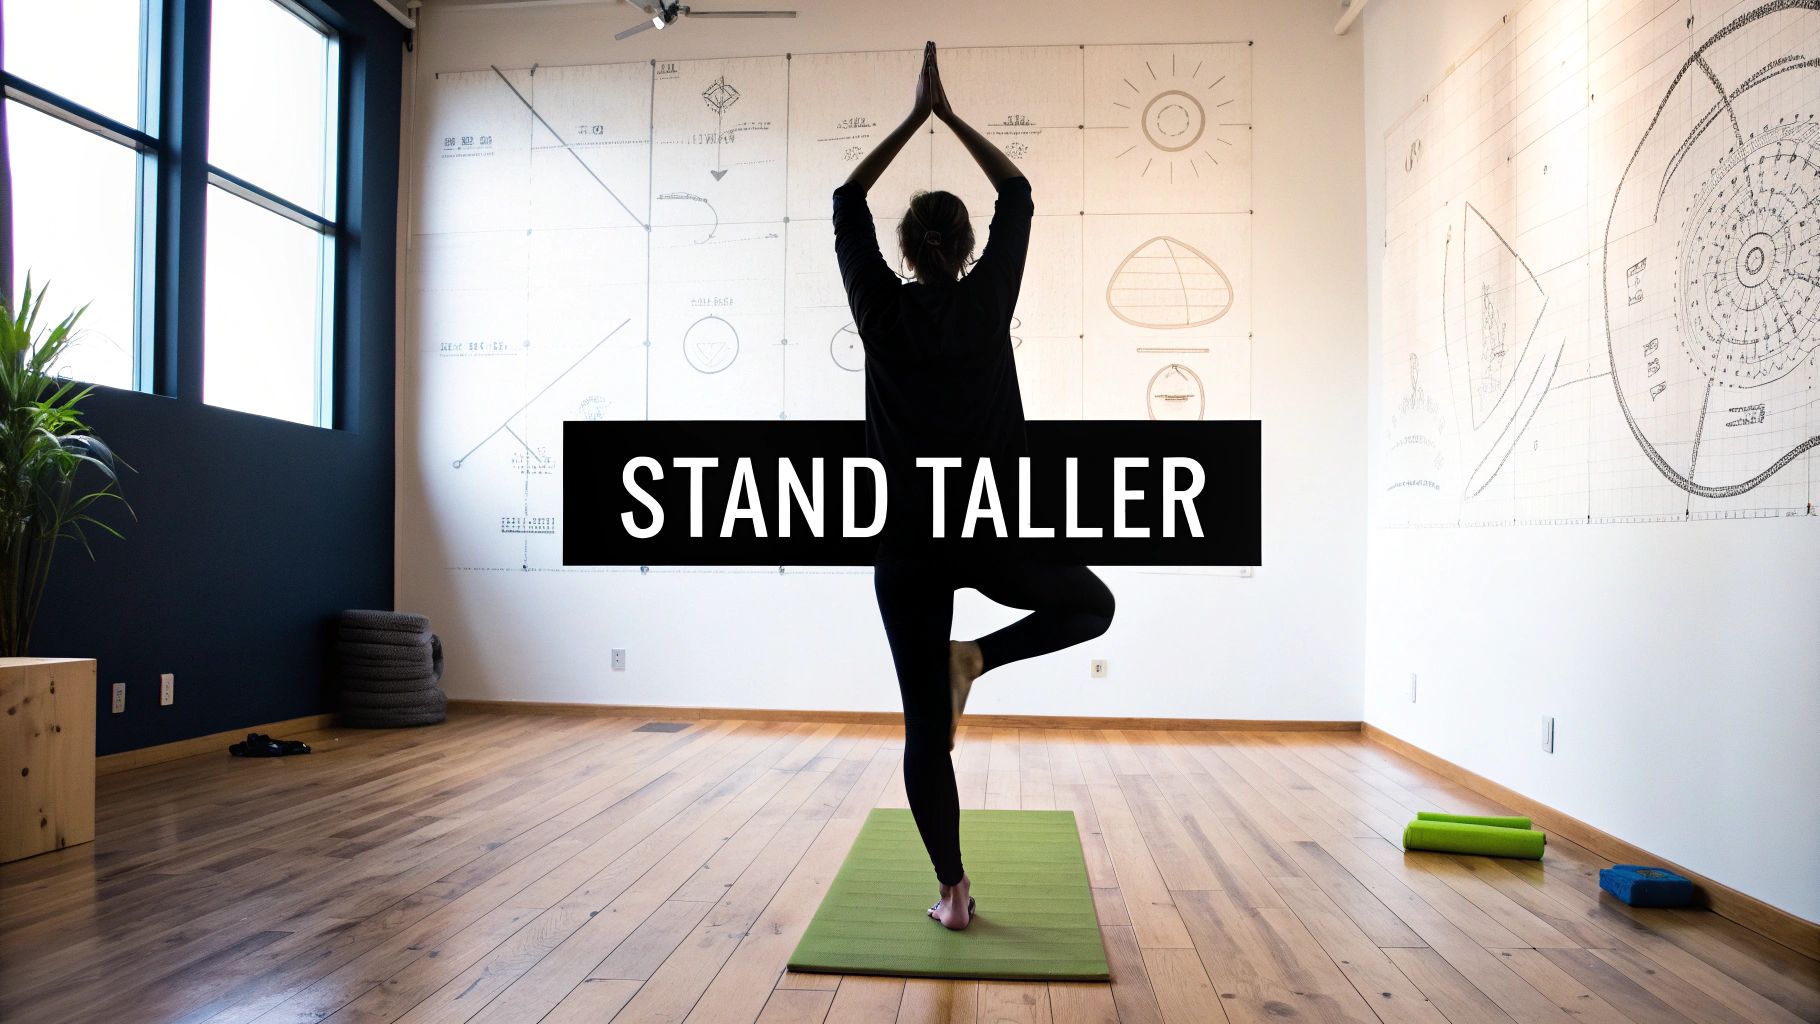
1. Mountain Pose (Tadasana)
Don't let its simplicity fool you; Mountain Pose, or Tadasana, is the unsung hero of posture correction. It’s the foundational blueprint for nearly every other standing yoga pose, teaching you how to stack your joints and align your spine with gravitational grace. Think of it as hitting the factory reset button on the slouch you’ve perfected after hours hunched over a desk. This pose is all about conscious standing, transforming a mundane act into a powerful alignment tool.

By actively engaging muscles that often go dormant (hello, core and glutes!), Tadasana trains your body to find and maintain a neutral spine. This isn't just standing; it's an active dialogue between your feet and the crown of your head, making it one of the most effective yoga poses for better posture.
How to Practice Tadasana
Ready to stand tall? Here’s your step-by-step guide to finding your inner mountain.
- Foundation First: Stand with your feet parallel, either with big toes touching and heels slightly apart or hip-width apart for more stability. Spread your toes and press down firmly through all four corners of each foot: the ball of the big toe, the ball of the pinky toe, and both sides of your heel.
- Activate Your Legs: Gently engage your quadriceps (thigh muscles) to lift your kneecaps. Avoid locking your knees; keep a micro-bend to protect the joints.
- Find a Neutral Pelvis: Imagine your pelvis is a bowl of water. Tilt it slightly forward and back until the "water" is level, preventing it from spilling. This engages your lower core.
- Lengthen and Lift: Inhale and lengthen your spine, imagining a string pulling the crown of your head toward the ceiling. As you exhale, relax your shoulders down and away from your ears.
- Arm Position: Let your arms rest alongside your body with palms facing forward or toward your thighs. This simple rotation helps open the chest and roll the shoulders back into proper alignment.
Common Misalignments and How to Fix Them
- Fix: Gently rock back and forth until you feel your weight evenly distributed. Lift your toes, spread them wide, and place them back down to reconnect with your foundation.
- Fix: Revisit the "bowl of water" cue. Gently tuck your tailbone down and draw your navel toward your spine to engage your core and support your lower back.
Tech-Assisted Alignment: For pinpoint accuracy, an AI posture coach like Dalm can be a game-changer. It provides real-time feedback on your spinal alignment and weight distribution, ensuring you’re building correct muscle memory from the ground up.
Modifications and Breathing
- For Beginners: Stand with your back against a wall. This provides tactile feedback, helping you feel where your shoulders, glutes, and head should be in space.
- To Advance: Close your eyes. This challenges your balance and deepens your internal awareness (proprioception).
- Breathing: Inhale deeply to feel your spine lengthen and your chest expand. Exhale completely to ground down through your feet and relax your shoulders. Hold for 5-10 full, conscious breaths. For more detail on this foundational pose, explore these postural awareness exercises.
2. Cat-Cow Pose (Marjaryasana-Bitilasana)
If your spine could ask for one thing after a long day of sitting, it would be Cat-Cow. This gentle, flowing sequence is less of a static pose and more of a moving meditation for your back. It’s the ultimate antidote to the rigid, locked-up posture that comes from staring at screens, gently waking up each vertebra and reminding your spine what it feels like to move freely. Think of it as flossing for your spinal column, clearing out stiffness and promoting fluidity.
By moving between spinal flexion (Cat) and extension (Cow), this dynamic duo increases circulation in the discs between your vertebrae and improves your postural awareness. It’s one of the most highly recommended yoga poses for better posture because it directly targets spinal mobility, which is the foundation of a healthy, upright stance.
How to Practice Marjaryasana-Bitilasana
Ready to get your spine moving? Here's how to flow through Cat-Cow.
- Get into Position: Start on your hands and knees in a tabletop position. Your wrists should be directly under your shoulders, and your knees directly under your hips.
- Cow Pose (Bitilasana): As you inhale, drop your belly toward the mat. Lift your chest and tailbone, creating a gentle arch in your spine. Look forward or slightly up, but be careful not to crunch your neck.
- Cat Pose (Marjaryasana): As you exhale, reverse the movement. Press the mat away from you, rounding your spine toward the ceiling like a stretching cat. Tuck your chin to your chest and release your tailbone down.
- Flow with Breath: Continue flowing smoothly between Cow on the inhale and Cat on the exhale. Let your breath guide the pace of your movement.
Common Misalignments and How to Fix Them
- Fix: Actively press the mat away and draw your shoulder blades down your back. Think of creating as much space as possible between your ears and shoulders throughout the entire flow.
- Fix: Slow down and intentionally link each movement to a full, deep breath. The transition between the poses is just as important as the poses themselves.
Tech-Assisted Alignment: Coordinating breath and movement is key. An AI coach like Dalm can provide real-time audio cues, prompting you to "inhale into Cow" and "exhale into Cat" to ensure perfect synchronization and maximize the benefits for your spine.
Modifications and Breathing
- For Beginners: If you have sensitive wrists, place your hands on yoga blocks or make fists and rest on your knuckles to create a straight line from your wrist to your forearm.
- To Advance: Close your eyes to turn the movement into a deeper meditation, focusing entirely on the sensation in your spine.
- Breathing: The breath is the engine for this pose. Inhale deeply to fill the chest and belly as you move into Cow. Exhale completely, drawing your navel to your spine, as you round into Cat. Aim for 5-10 mindful rounds. This foundational movement is a key component in building sequences; you can find more tips in this guide to yoga sequencing for beginners.
3. Child's Pose (Balasana)
If standing poses are the "work" of posture correction, Child's Pose is the glorious, well-deserved payday. Balasana is more than just a resting pose; it's an active release that gently de-stresses the very muscles that scream in protest after a day of slouching. Think of it as a deep, restorative sigh for your spine, gently lengthening from your tailbone to your neck and melting away the tension that pulls your shoulders toward your ears.
This grounding pose offers a gentle stretch for the entire back body, hips, and shoulders, promoting spinal decompression and encouraging mindful awareness. By turning your focus inward and breathing into your back, you create space between the vertebrae, making it one of the most nurturing yoga poses for better posture. It teaches your body what it feels like to release, a crucial skill for letting go of habitual tension.
How to Practice Balasana
Ready to unwind and reset? Here’s your step-by-step guide to finding restorative peace.
- Start on All Fours: Begin on your hands and knees in a tabletop position. Bring your big toes to touch and widen your knees, at least to the width of your hips or as wide as your mat for a deeper hip release.
- Sink Your Hips: Exhale and slowly send your hips back toward your heels. Let your torso drape down between or on top of your thighs.
- Rest Your Forehead: Gently lower your forehead to rest on the mat. This connection to the ground is calming for the nervous system.
- Position Your Arms: You have two main options. You can extend your arms forward, palms down, for a gentle shoulder stretch. Or, you can bring your arms alongside your body, palms facing up, to completely relax the shoulders.
- Breathe and Release: With each inhale, feel your back expand and lengthen. With each exhale, sink your hips deeper toward your heels and release any tension in your neck and shoulders.
Common Misalignments and How to Fix Them
- Fix: Before you fold forward, actively lengthen your spine. Think of reaching the crown of your head away from your tailbone. As you fold, maintain that length.
- Fix: Place a rolled-up blanket or a bolster between your heels and your glutes. This provides support and allows your hips to release without strain.
Tech-Assisted Alignment: Child’s Pose is about spinal release, but are you sure you're not holding hidden tension? Using Dalm’s video playback feature allows you to review your pose from the side, ensuring your spine is in a gentle, neutral curve rather than an aggressive, tense hunch.
Modifications and Breathing
- For Beginners: If your forehead doesn't comfortably reach the floor, place a yoga block or a folded blanket underneath it. This prevents neck strain and allows for full relaxation.
- To Advance: Walk your fingertips further forward to deepen the stretch in your shoulders and lats. You can also press gently into your palms to actively send your hips further back.
- Breathing: This pose is all about the breath. Inhale deeply into your back body, imagining your rib cage expanding in all directions like a balloon. Exhale slowly and completely, feeling your body grow heavier and more relaxed. Hold for 5-10 deep, conscious breaths.
4. Downward-Facing Dog (Adho Mukha Svanasana)
If your spine could talk after a long day of sitting, it would probably just scream "stretch me!" Downward-Facing Dog, or Adho Mukha Svanasana, is the glorious, full-body answer to that cry. This iconic inverted V-shape is a postural powerhouse, flipping your world upside down to decompress your spine and undo the gravitational damage of hunching. It’s part strength-builder, part tension-melter, and a total game-changer for your back.

By creating space between your vertebrae and strengthening the entire back side of your body, from your shoulders down to your heels, Downward-Facing Dog teaches your muscles how to support a long, neutral spine. It’s one of the most essential yoga poses for better posture because it simultaneously builds the strength and flexibility needed to stand tall effortlessly.
How to Practice Adho Mukha Svanasana
Ready to turn that slouch upside down? Here’s how to get into the pose correctly.
- Start on All Fours: Begin in a tabletop position with your hands directly under your shoulders and your knees under your hips.
- Plant Your Hands: Spread your fingers wide and press firmly into the mat through your palms and knuckles, especially the space between your thumb and index finger.
- Lift Your Hips: Tuck your toes, and on an exhale, lift your knees off the floor. Gently begin to straighten your legs (they don't have to be perfectly straight!) and lift your hips up and back, forming an inverted V-shape with your body.
- Create Length: Press the floor away from you to lengthen your spine, sending your chest toward your thighs. Keep your head in a neutral position, with your ears in line with your upper arms. Don't let your head hang or crank it up to look forward.
- Engage and Extend: Keep your shoulders externally rotated, moving them away from your ears to create space. Press your heels down toward the mat; it’s okay if they don’t touch.
Common Misalignments and How to Fix Them
- Fix: Bend your knees generously. This takes the pressure off tight hamstrings and allows you to focus on lengthening your spine. Press your chest back toward your thighs to create a long line from your hands to your hips.
- Fix: Actively rotate your upper arms outward, so your biceps face forward. Think about widening your shoulder blades across your back. This protects the shoulder joint and engages the correct muscles.
Tech-Assisted Alignment: Downward-Facing Dog has many moving parts. An AI posture coach like Dalm can analyze your form in real-time, checking for critical alignment points like a neutral spine and proper shoulder rotation, helping you avoid injury and maximize the posture-correcting benefits.
Modifications and Breathing
- For Beginners: Keep your knees generously bent throughout the pose. You can also place yoga blocks under your hands to reduce the angle and make the stretch more accessible.
- To Advance: Try lifting one leg up toward the ceiling for a Three-Legged Dog, challenging your stability and deepening the stretch in the standing leg.
- Breathing: Inhale to find more length through your spine. As you exhale, press your heels closer to the floor and send your hips higher. Hold for 5-10 deep breaths, allowing your body to settle into the pose.
5. Cobra Pose (Bhujangasana)
If your posture has adopted the shape of a question mark after a long day of screen time, Cobra Pose is the answer. This gentle backbend acts as a direct counter-offensive to the dreaded "tech neck" and rounded shoulders. Bhujangasana strengthens your entire back, opens up your chest, and stretches your abdominals, essentially reprogramming your upper body to hold itself upright with strength and ease.
Think of it as un-slouching from the inside out. By strengthening the spinal erectors and the muscles around your shoulder blades, you're building a natural, internal support system. This makes it one of the most restorative and effective yoga poses for better posture, teaching your spine to embrace its natural, graceful curves.
How to Practice Bhujangasana
Ready to rise up and undo the day's slump? Here’s how to perform Cobra Pose safely and effectively.
- Get into Position: Lie on your stomach with your legs extended straight behind you, tops of the feet resting on the mat. Place your palms on the mat under your shoulders, with your fingers pointing forward.
- Anchor Down: Press the tops of your feet, thighs, and pubic bone firmly into the floor. This stabilizes your lower body and protects your lower back.
- Initiate the Lift: On an inhalation, begin to peel your chest off the floor. Use your back muscles to initiate the movement, keeping a slight bend in your elbows.
- Open the Chest: Draw your shoulder blades down your back and toward each other. Aim to broaden your collarbones, creating space across your chest. Keep your gaze slightly forward, maintaining a long neck.
- Hold and Release: Hold the pose for 3-5 breaths. On an exhalation, gently lower your chest and forehead back down to the mat.
Common Misalignments and How to Fix Them
- Fix: Actively press your shoulders down and away from your ears. Imagine sliding your shoulder blades down into your back pockets. This engages the correct muscles and opens the chest.
- Fix: Focus on lengthening forward before you lift up. Press your pelvis firmly into the mat and engage your core by drawing your navel toward your spine. Only lift as high as you can while keeping your hips grounded.
Tech-Assisted Alignment: Precision in backbends is crucial. An AI posture coach can analyze the curve of your spine and your shoulder alignment in real-time. This feedback helps you avoid lower back compression and ensures you're engaging your upper back muscles correctly for maximum postural benefit.
Modifications and Breathing
- For Beginners: Start with a "Baby Cobra." Keep your forearms on the floor and only lift your chest a few inches. This builds foundational back strength without strain.
- To Advance: Straighten your arms more to lift higher, moving toward Upward-Facing Dog. Ensure your hips and the tops of your thighs remain on the mat to stay in Cobra.
- Breathing: Inhale as you lift your chest, using the breath to create space and length. Exhale as you hold the pose to soften and deepen, or as you release back down to the mat. Maintain a steady, smooth breath throughout.
6. Warrior I Pose (Virabhadrasana I)
Step into your power with Warrior I, a pose that embodies strength, focus, and stability. Far more than just a lunge, Virabhadrasana I is a posture powerhouse that builds a strong foundation from the ground up. It’s your secret weapon against the dreaded “desk slump,” strengthening the very muscles responsible for holding you upright and gracefully countering the hip-tightening effects of prolonged sitting.
This foundational pose is a masterclass in full-body integration. It strengthens your glutes and core, the essential support system for a neutral spine, while simultaneously stretching the hip flexors of the back leg. By creating this balance of strength and openness, Warrior I is one of the most dynamic yoga poses for better posture, teaching your body to be both resilient and spacious.
How to Practice Virabhadrasana I
Ready to channel your inner warrior? Here’s your step-by-step guide to conquering the pose.
- Start Strong: From Mountain Pose, step your left foot back about 3-4 feet. Turn your left foot in at a 45 to 60-degree angle, grounding the outer edge of the foot firmly into the mat.
- Align Your Hips: Square your hips and torso to face the front of your mat. This can be challenging; it's okay if they don't perfectly align. The intention is to draw your right hip back and your left hip forward.
- Bend and Deepen: Inhale, then as you exhale, bend your right knee so it stacks directly over your right ankle. Aim for a 90-degree angle in the front knee, creating a thigh parallel to the floor if accessible.
- Lift and Lengthen: On an inhale, sweep your arms overhead, either shoulder-width apart with palms facing each other or with palms touching. Keep your shoulders relaxed down and away from your ears.
- Gaze Upward: If comfortable for your neck, lift your gaze toward your thumbs (Drishti). Otherwise, keep your gaze straight ahead.
Common Misalignments and How to Fix Them
- Fix: Actively press into the big toe mound of your front foot and imagine you are tracking your knee toward your pinky toe. This engages the outer hip muscles for better stability.
- Fix: Engage your core by drawing your navel toward your spine and gently tucking your tailbone. Think about knitting your front ribs together to maintain a long, supported spine.
Tech-Assisted Alignment: Squaring the hips while keeping the back foot grounded is tricky. An AI posture coach like Dalm can analyze your pelvic and knee alignment in real-time, providing feedback to ensure you’re maximizing the hip-opening benefits without compromising your joints.
Modifications and Breathing
- For Beginners: Widen your stance horizontally (like you’re on train tracks instead of a tightrope) for better balance. You can also place your hands on your hips to focus on the leg and hip alignment.
- To Advance: Add a gentle backbend by lifting your heart and gaze further upward, opening the chest. Ensure you are lifting out of the lower back, not compressing it.
- Breathing: Inhale to lengthen your spine and lift through your fingertips. Exhale to ground down through both feet and deepen into the front lunge. Hold for 5-8 powerful, steady breaths before switching sides.
7. Plank Pose (Phalakasana)
If posture had a boot camp, Plank Pose would be the drill sergeant. Phalakasana is the ultimate test of full-body integration, demanding strength, stability, and sheer willpower. It forges a powerful connection between your upper and lower body by intensely engaging the core muscles that act as a natural corset for your spine. Think of it as building an internal support system that holds you upright long after you’ve left the yoga mat.
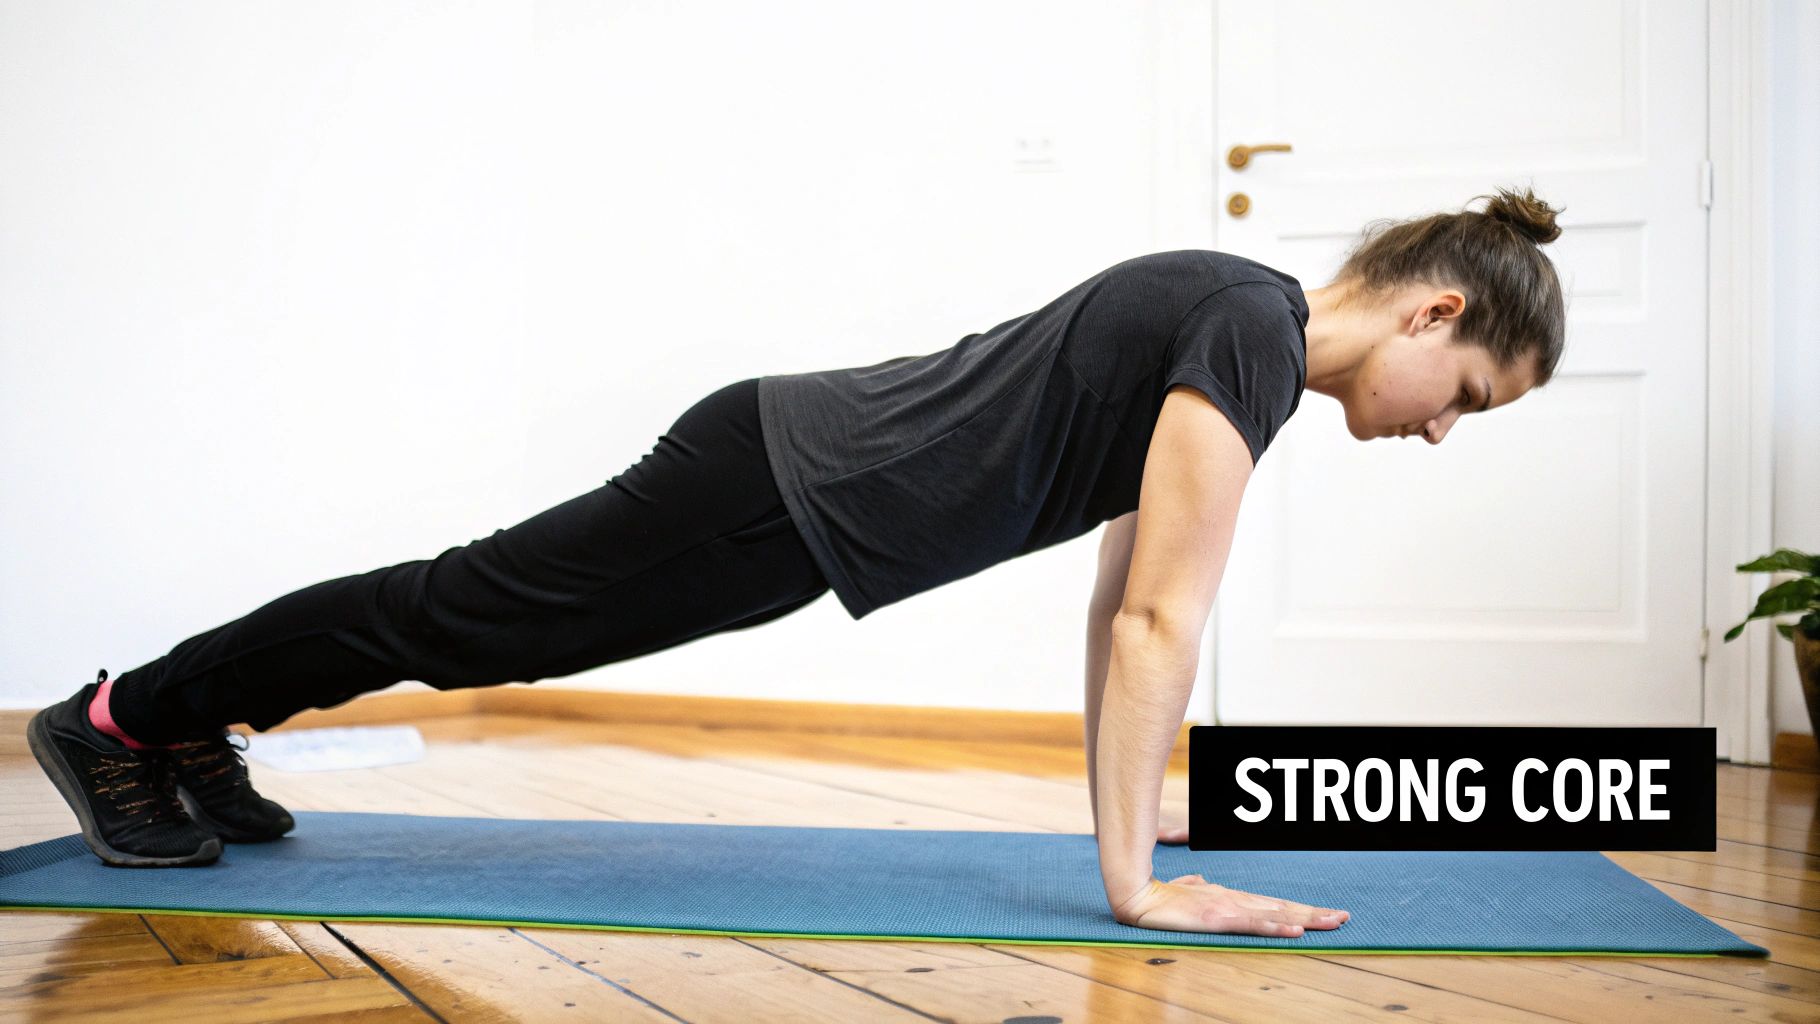
By strengthening the deep abdominal muscles, glutes, and back extensors, Plank Pose directly counteracts the muscular imbalances that lead to slouching and lower back pain. It trains your body to resist gravity's pull, making it one of the most transformative yoga poses for better posture by building the raw strength needed for effortless alignment.
How to Practice Phalakasana
Ready to build your postural powerhouse? Here’s how to construct a perfect plank.
- Get Into Position: Start in a tabletop position on your hands and knees. Your wrists should be directly under your shoulders and your knees under your hips.
- Extend Your Legs: Step one foot back, then the other, coming onto the balls of your feet. Your body should form one long, straight line from the crown of your head to your heels.
- Engage Your Core: This is non-negotiable. Actively draw your navel in toward your spine to engage your deep core muscles and protect your lower back from sagging.
- Activate Your Entire Body: Press firmly through your palms, protracting your shoulder blades slightly to dome your upper back. Engage your glutes and quads to keep your hips level and your legs active.
- Maintain Your Gaze: Keep your neck as a natural extension of your spine by gazing slightly forward on the floor, avoiding the urge to crane your neck up or let your head drop.
Common Misalignments and How to Fix Them
- Fix: Squeeze your glutes and re-engage your core by pulling your belly button toward your spine. Imagine a string pulling your hips up into line with your shoulders.
- Fix: Gently lower your hips until you feel your abdominal muscles fire up. Your body should be parallel to the floor, not in a downward-dog-in-training position.
Tech-Assisted Alignment: Plank is all about the straight line, but feeling it can be tough. An AI posture coach like Dalm provides instant visual feedback, alerting you the moment your hips sag or your shoulders creep up, ensuring you’re building strength, not bad habits.
Modifications and Breathing
- For Beginners: Drop to your knees (Modified Plank) or place your forearms on the floor (Forearm Plank). Both variations build core strength while reducing the load on your wrists and shoulders.
- To Advance: Challenge your stability by lifting one leg a few inches off the floor for a few breaths, then switching sides.
- Breathing: Breathe steadily and deeply. Inhale to feel your spine lengthen, and exhale to engage your core more profoundly and press the ground away. Hold for 3-5 full breaths, gradually working your way up to 30-60 seconds. To explore more foundational core work, check out these ideas for yoga for core strength for beginners.
7 Yoga Poses: Posture Comparison
Your Action Plan for a Straighter, Stronger Spine
You’ve just journeyed through seven foundational yoga poses for better posture, from the grounding stability of Mountain Pose to the core-igniting power of Plank. You now have the blueprints for building a stronger, more aligned spine. But like any good blueprint, its true value is only realized when you start building. The secret ingredient isn't mastering a perfect Downward-Facing Dog overnight; it's the daily, dedicated practice that rewires your muscles and awakens your postural awareness.
Think of your posture as a conversation between your body and gravity. For years, you might have been letting gravity win, leading to the slouching, slumping, and stiffness that brought you here. The poses in this guide are your new vocabulary, allowing you to respond with strength, intention, and balance. Each Cat-Cow is a gentle negotiation with your spine, and every Warrior I is a declaration of your commitment to standing tall.
Turning Knowledge into Action: Your Daily Posture Ritual
Information without implementation is just trivia. To see real, lasting change, you need a simple, repeatable plan. The goal isn't to add another hour-long commitment to your already packed schedule. Instead, aim for consistency over duration. A focused 10-minute session every morning can be more transformative than a sporadic 60-minute class once a week.
Here is a practical, plug-and-play routine to get you started:
- The "Spinal Wake-Up" (3 Minutes): Begin with 10-15 slow, deliberate rounds of Cat-Cow Pose. This is non-negotiable. It’s like a cup of coffee for your vertebrae, gently mobilizing your spine and priming it for the day. Focus on linking each movement to your breath.
- The "Core Activator" (2 Minutes): Move into Plank Pose. Hold for 30 seconds, rest in Child's Pose for 30 seconds, and repeat. This builds the deep core strength that acts as a natural corset, supporting your entire torso.
- The "Alignment Check-In" (5 Minutes): Cycle through the remaining poses. Spend 60 seconds in Downward-Facing Dog to lengthen your entire posterior chain. Follow with a gentle Cobra Pose to open your chest, and stand tall in Mountain Pose for a full minute to integrate the feeling of proper alignment. Finish in a restorative Child's Pose.
Key Insight: Progress isn't linear. Some days you'll feel strong and open; other days, you'll feel tight and resistant. The victory lies in showing up regardless. Celebrate the small wins, like noticing you’re slouching at your desk and consciously correcting it. That is the practice in action.
Supercharge Your Practice with Intelligent Feedback
One of the biggest hurdles in a home yoga practice is the absence of a teacher to correct your form. Are your hips truly square in Warrior I? Is your back arching in Plank? Without precise feedback, we can unknowingly reinforce the very postural imbalances we’re trying to fix.
This is where technology can become your most powerful ally. Modern tools like AI-powered yoga assistants offer a level of personalized guidance that was once only available in a private studio. An app using your phone’s camera can analyze your alignment in real-time, providing specific cues to adjust your form. It acts as a digital spotter, ensuring you build muscle memory correctly and safely. Tracking your progress with this kind of data-driven feedback can be incredibly motivating, turning abstract goals into tangible achievements. By embracing these tools, you're not just practicing yoga poses for better posture; you're mastering them with precision.
Your journey to a healthier spine and a more confident stance has officially begun. You have the poses, you have a plan, and you have the awareness. Now, all that's left is to unroll your mat and breathe. Your future self will thank you for it.
Ready to stop guessing and start improving your posture with precision? Dalm uses medical-grade AI to provide real-time feedback on your yoga poses, acting as your personal posture coach right from your phone. Transform your practice and build a stronger back by downloading the app at Dalm today.